



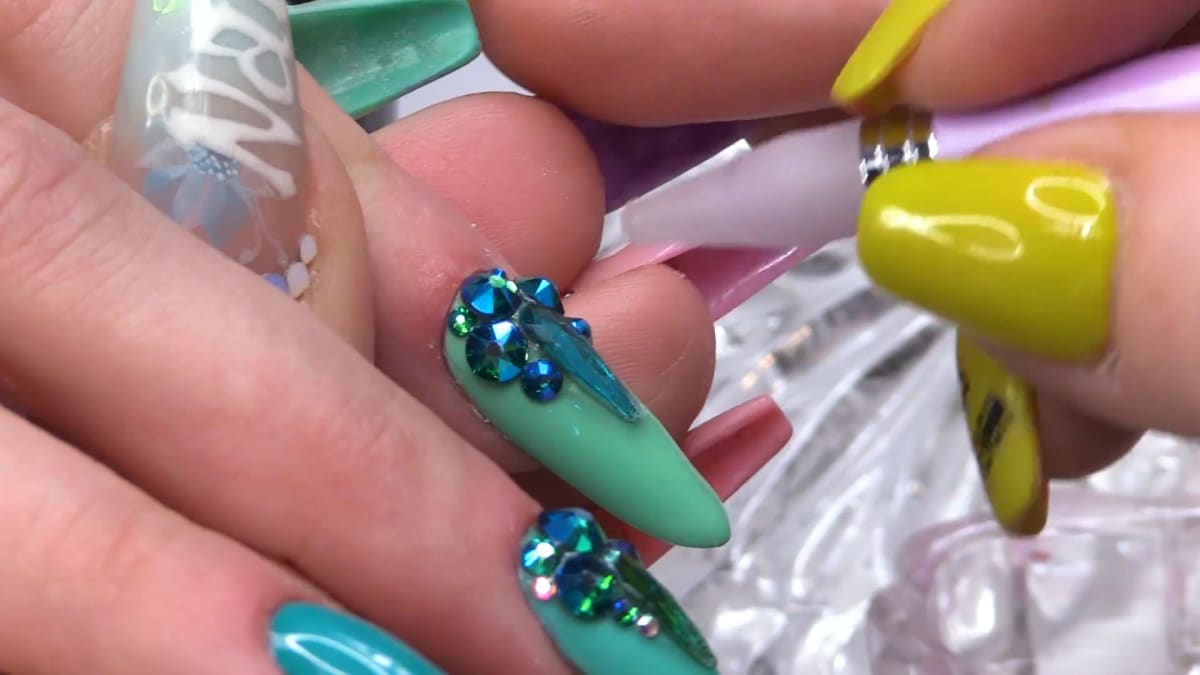
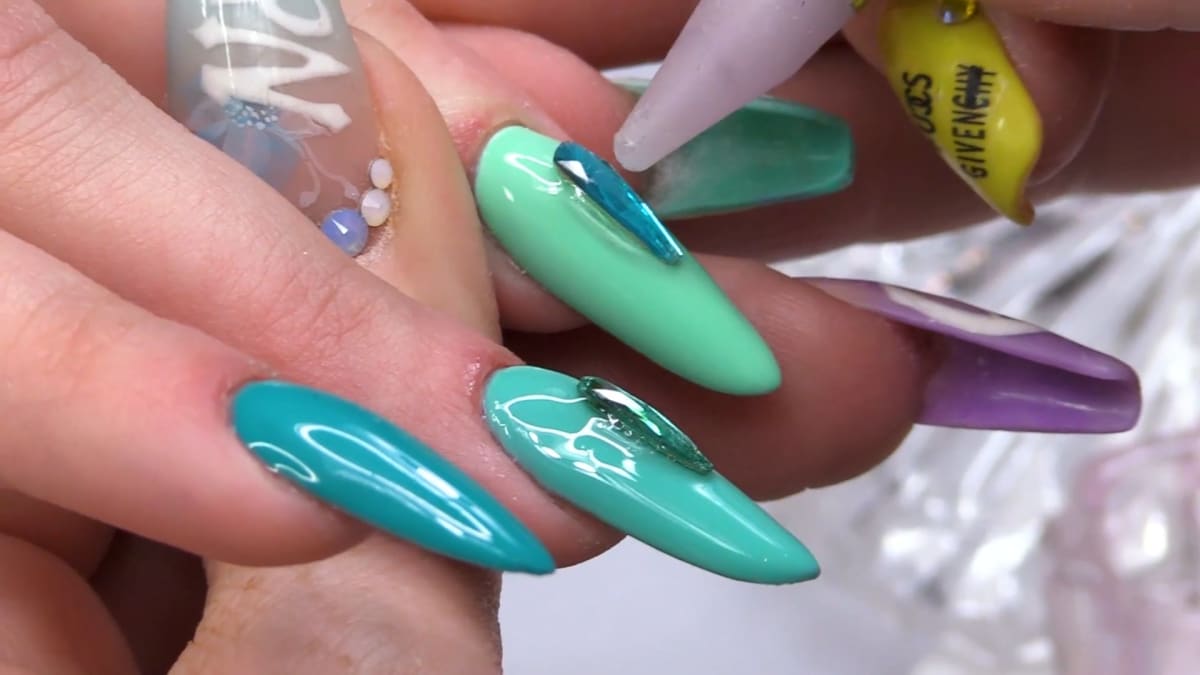
To make turquoise rainbow nails, you paint each nail a single gel polish colour, stepping from a deep green on the thumb through teal and turquoise to a pale pistachio on the little finger, so the gradient runs across the hand with no blending. In this tutorial Kirsty goes from Bottle Green to Perfect Pistachio.
She finishes the look with AcryGel and crystal bling for a quick, easy salon design.
It is a great gel polish gradient idea for anyone who wants a colourful full set without blending or complicated nail art. Below you'll find the products, each step with its place in the video, and Kirsty's tips.
At a Glance
- Design: an aquamarine gradient across the hand, one colour per nail, with crystal bling
- Artist: Kirsty
- Technique: gel polish full look, with stones set in AcryGel
- Key products: Bottle Green, Rich Teal, Looking Glass, Spring Meadow and Perfect Pistachio Gel Polishes, AcryGel Tube - It's Clear Dear, Clear Sapphire Crystals
- Video length: about 18 minutes
Why You'll Love These Turquoise Rainbow Nails
- One colour per nail gives a gradient without any blending.
- Teal, turquoise and pistachio shades work together beautifully.
- The bling is placed with AcryGel, so it stays secure.
- It is a speedy design that anyone can do.
Products Used in This Video


How to Create Turquoise Rainbow Nails
1. Choose your colours
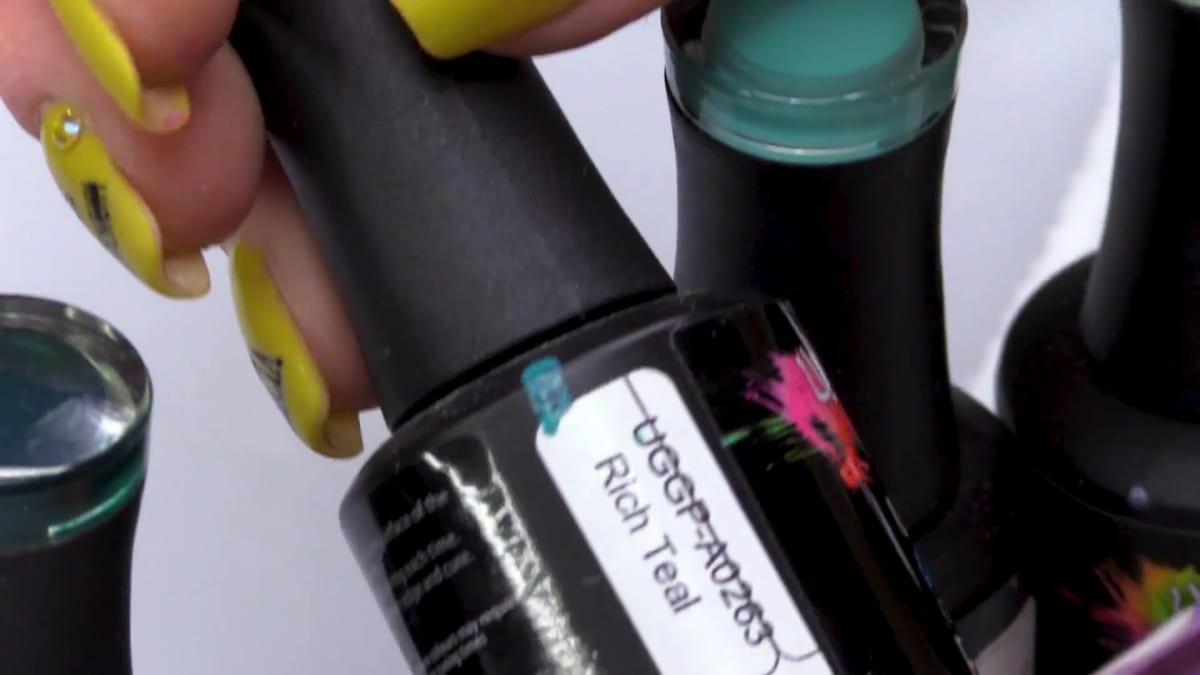
Set out five colours, from the deep Bottle Green through the teals and turquoises to the palest Perfect Pistachio. The gradient works best when each shade is clearly different from the one next to it.
2. Paint one colour per nail
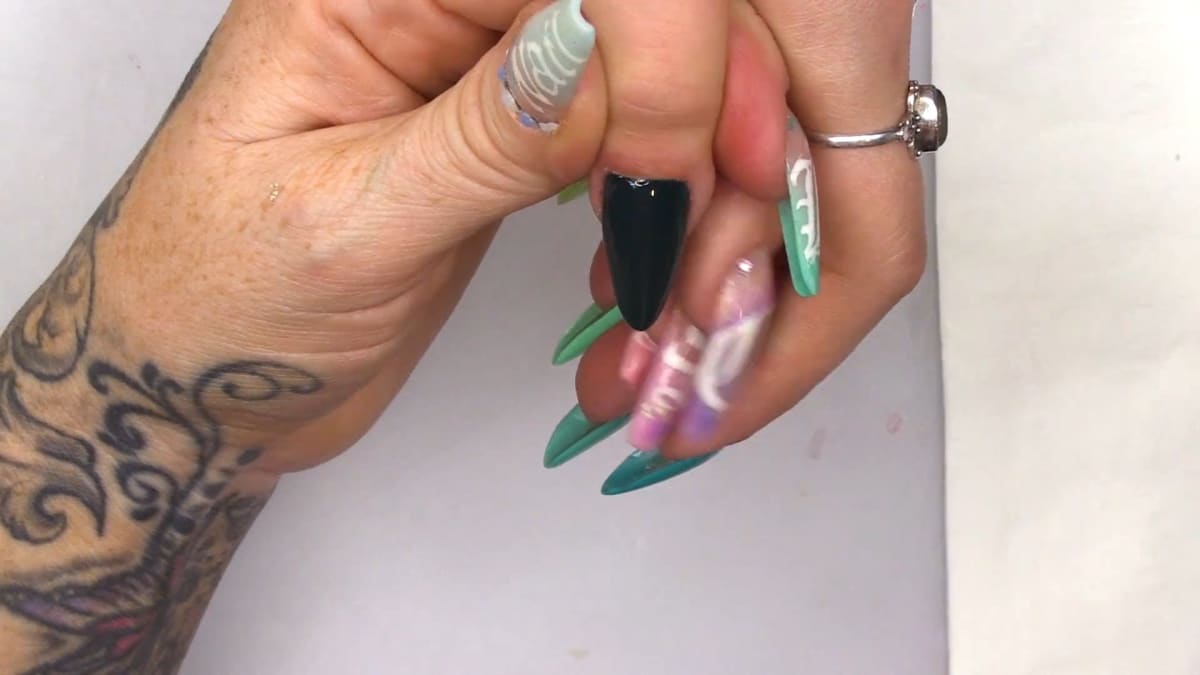
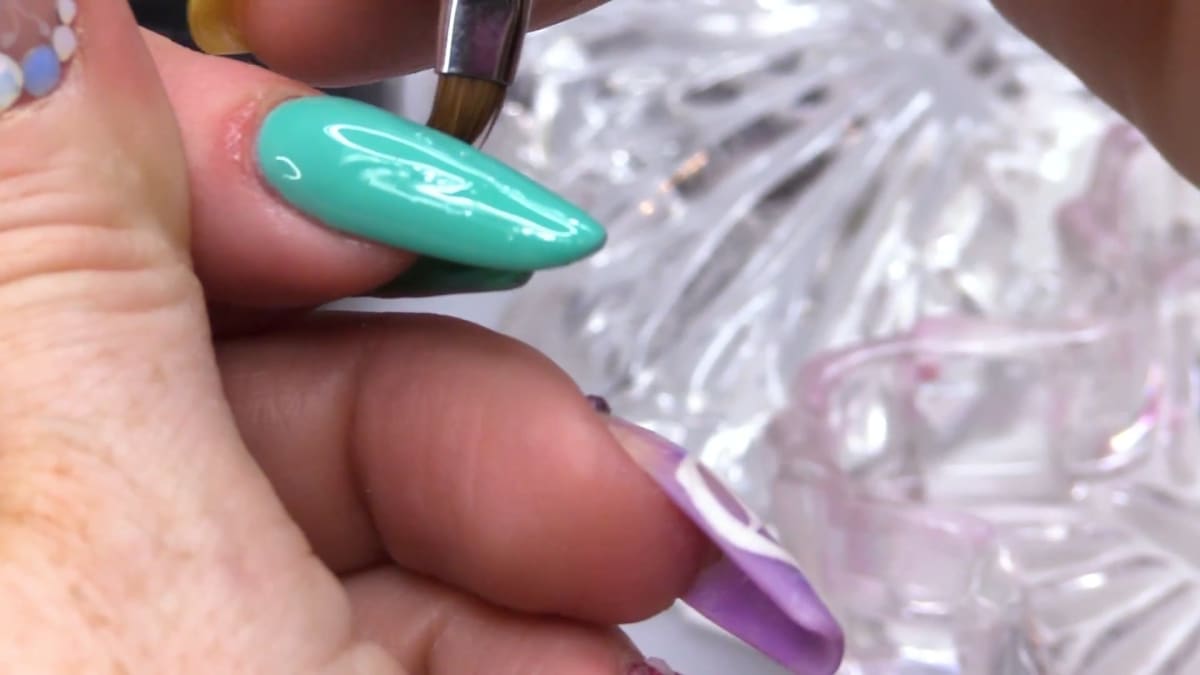
Start on the thumb with Bottle Green and work through the colours until you reach the little finger in Perfect Pistachio. The pale shade may need three coats to get full coverage. Cure each coat. Watch this step at 2:00
3. Top coat
Apply top coat and cure before moving on to the bling.
4. Prepare the bling area
Buff over the shiny surface of the nail where the stones will go.
5. Apply AcryGel and stones
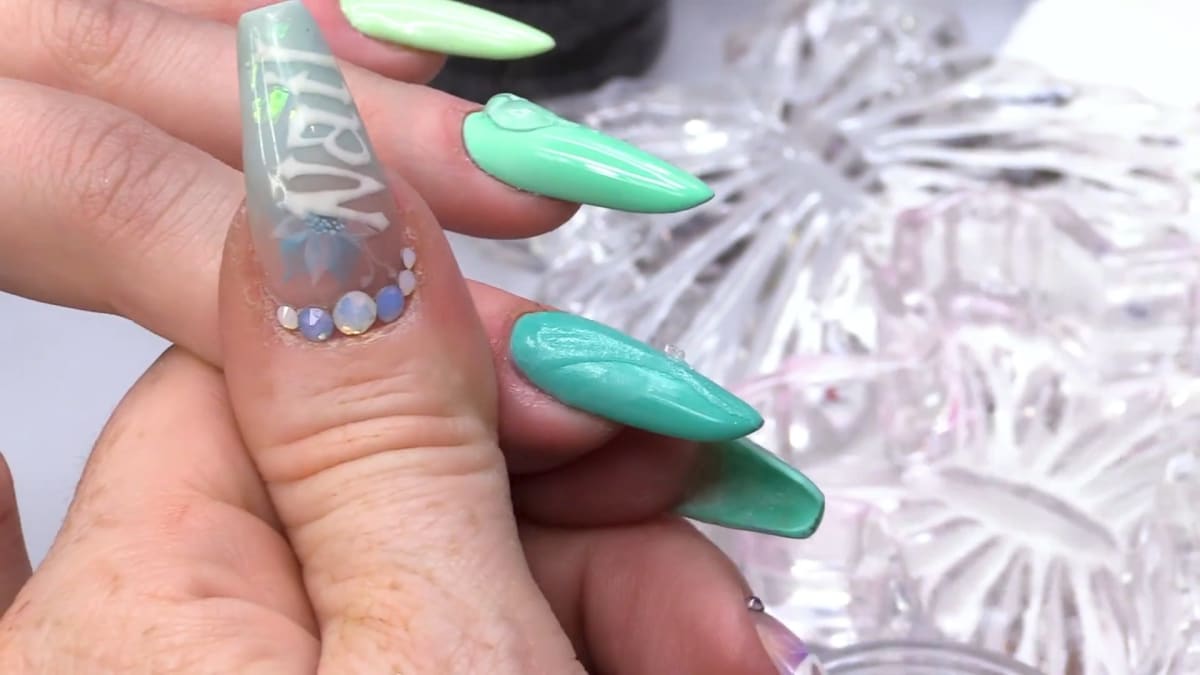
Place a small amount of AcryGel It's Clear Dear on the nail and shape it with Gel Residue Wipe-off Solution. While the AcryGel is still wet, apply top coat and place your stones. Watch this step at 8:00
6. Finish with cuticle oil
Finish the design with a little cuticle oil.
Where to find each stage of the Turquoise Rainbow Nails video
| Stage | Time |
|---|---|
| Painting one colour per nail | 2:00 |
| AcryGel and stones | 8:00 |
Pro Tips
- Allow up to three coats on the palest colour for even coverage.
- Buff the surface where the stones go so they stay in place.
- Shape the AcryGel before adding top coat and stones.
- Choose colours with enough contrast so the gradient reads clearly.
Who Is This Design For?
This design is for anyone who loves colour but wants something simple. It is ideal for beginners or busy nail techs who need a quick full look in gel polish.
Ways to Make It Your Own
- Create a gradient with pinks or purples instead.
- Use fewer stones for a subtler finish.
- Reverse the colour order across the hand.
- Add a matte top coat for a velvety look.
Aftercare
Use cuticle oil daily and be careful with the stones when washing hair or using your hands for rough tasks.
Frequently Asked Questions
How do you make turquoise rainbow nails?
Paint each nail a single colour, from Bottle Green on the thumb through Rich Teal, Looking Glass and Spring Meadow to Perfect Pistachio on the little finger, then top coat and add stones.
How many coats does each colour need?
Most need two, but the palest shade, Perfect Pistachio, may need three for full coverage.
How do the stones stay on?
They are placed into a small amount of AcryGel It's Clear Dear with top coat while it is still wet.
Do I need to blend the colours?
No. Each nail uses a single colour, so the gradient comes from the difference between the nails.
Why buff before adding stones?
Buffing the shiny surface where the stones go helps them stay in place.
How do I choose the colours?
Pick five shades where each is clearly different from the one next to it, so the gradient reads clearly.
Give Turquoise Rainbow Nails a Try
Watch the gel polish tutorial above and give this speedy gradient look a go.


