



Vertical ombre nails blend two gel polish colours side by side down the length of each nail, and across a full set the shades flow from finger to finger like a rainbow. Kirsty Meakin from Naio Nails paints half of each sculpted ballerina nail in one colour and half in the next, drags a gel brush through the centre to fade them, then adds glitter dust and stones.
The five shades are Magic Potion, Caribbean Dream, Flamingo Sunset, Hot Pants and Pool Party. Each nail shares a colour with its neighbour, which is what makes this sparkly summer nail design read as one continuous rainbow.
Below is each stage in order, with the time to watch it in the video.
At a Glance
- Design: a rainbow of side-by-side colour blends with glitter and stones
- Artist: Kirsty
- Season: summer
- Technique: gel polish blend, glitter dust on the sticky layer
- Nail shape: sculpted ballerina, a full set of five
- Cure time: one minute for the seal
- Key products: five gel polish shades, Top Coat, Gel Residue Remover, AB Crystals, Brush-On Glue
- Video length: about 8 minutes 20 seconds
Why You'll Love These Vertical Ombre Nails
- Colours flow from nail to nail like a rainbow
- Simple drag-through blend
- Glitter dust lies flat like a jigsaw
- Stones add extra sparkle
How the Rainbow Sequence Works
A normal ombre fades from cuticle to tip. This one fades from left to right. Two colours are laid down as halves, and a gel brush dragged through the join pulls a little of each into the other.
The rainbow comes from the order. Each nail starts with the colour the previous nail finished on: Hot Pants and Magic Potion, then Magic Potion and Caribbean Dream, then Caribbean Dream and Pool Party, then Pool Party and Flamingo Sunset. Held together, the hand reads as one sweep of colour. Glitter dust brushed onto the sticky layer adds sparkle without hiding the blend underneath.
Products Used in This Video


How to Create Vertical Ombre Nails
1. Apply the colours
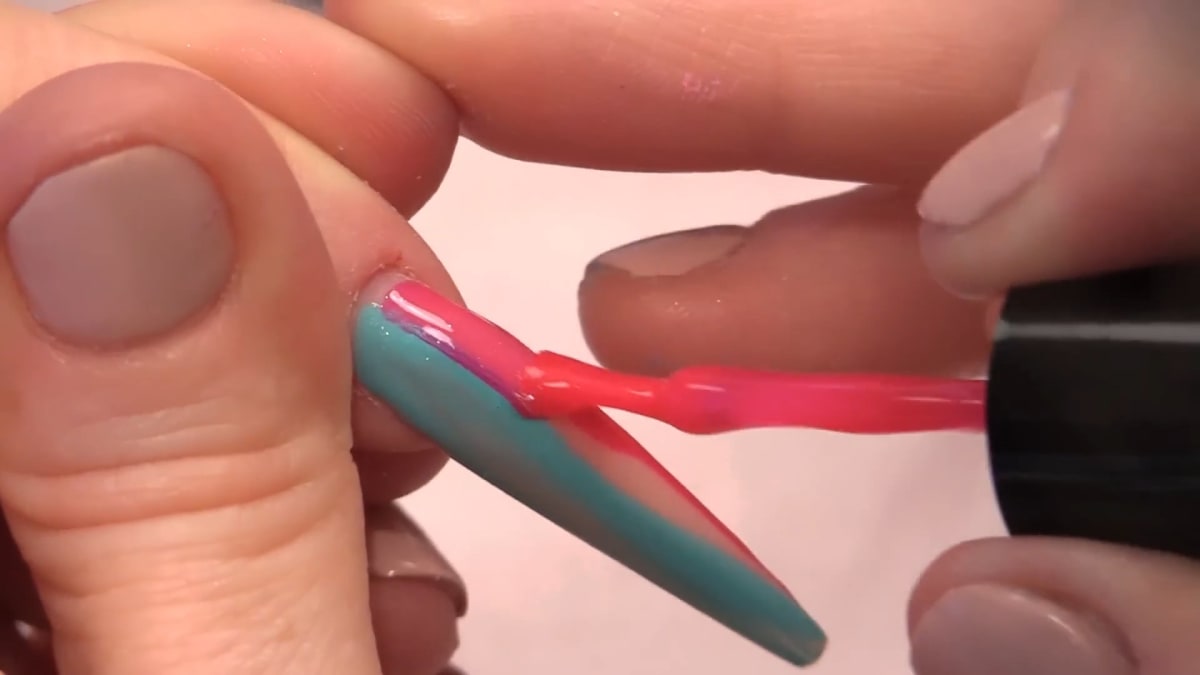
As this is on an acrylic nail, no base is needed. Cover half the nail with one colour and the other half with your next colour, for example Hot Pants.
2. Blend
Drag a gel brush through the centre to fade the two colours into each other. Do two coats and cure. Watch this step at 5:40
3. Add glitter dust
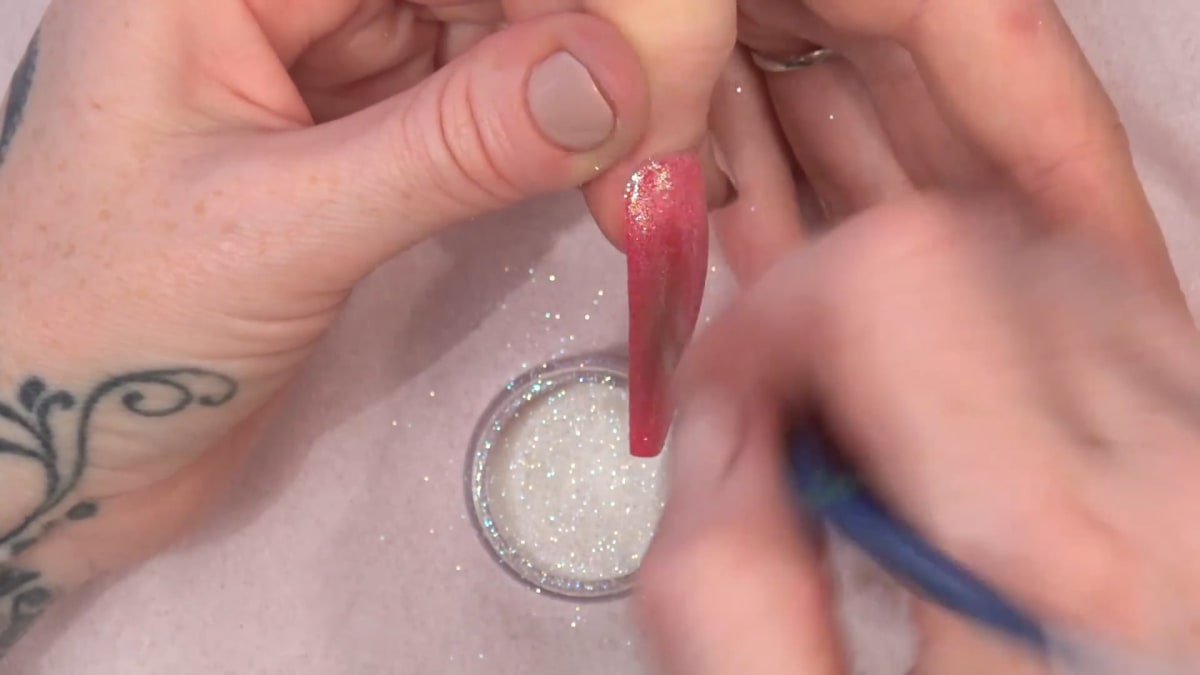
Leave the sticky layer and brush on Snow Fairy glitter dust, which still lets the colour show through. Dust off the excess with a soft brush, which lays the particles flat. Watch this step at 3:40

4. Seal
Seal with Top Coat, capping the edge, and cure for one minute.
5. Continue the colour sequence
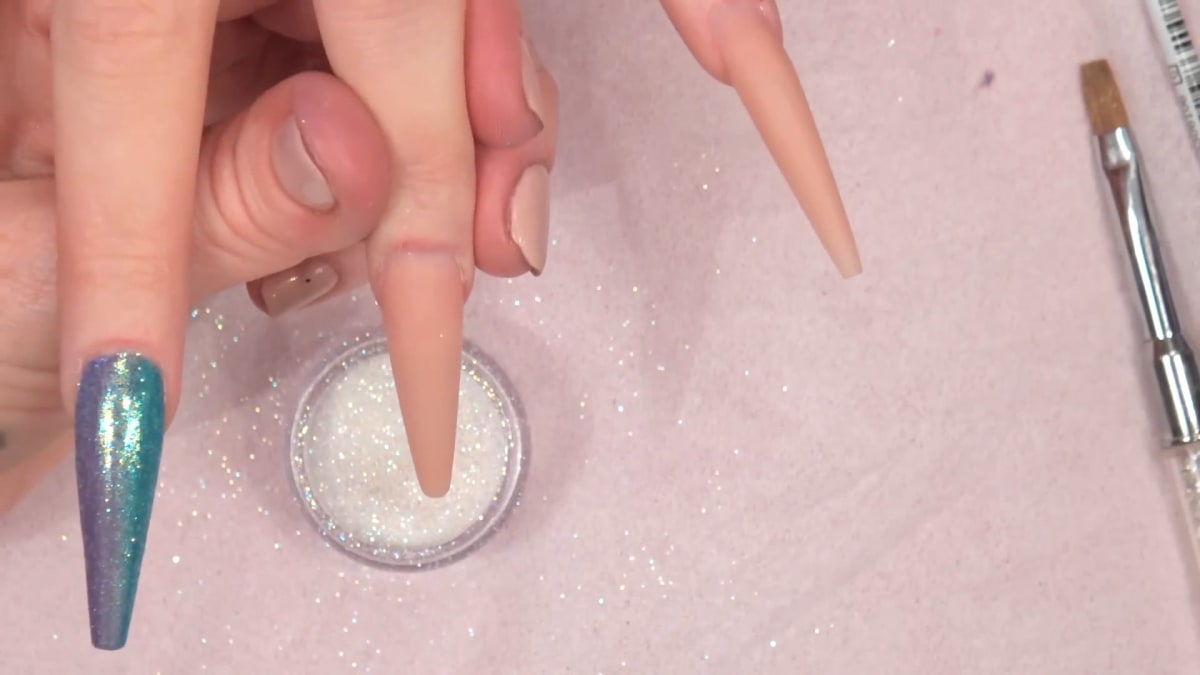
Follow on with the colours so each nail shares a shade with the next: Hot Pants and Magic Potion, then Magic Potion and Caribbean Dream, then Caribbean Dream and Pool Party, then Pool Party and Flamingo Sunset. Blend down the middle, cure, dust and seal each one. Watch this step at 4:40
6. Finish with stones
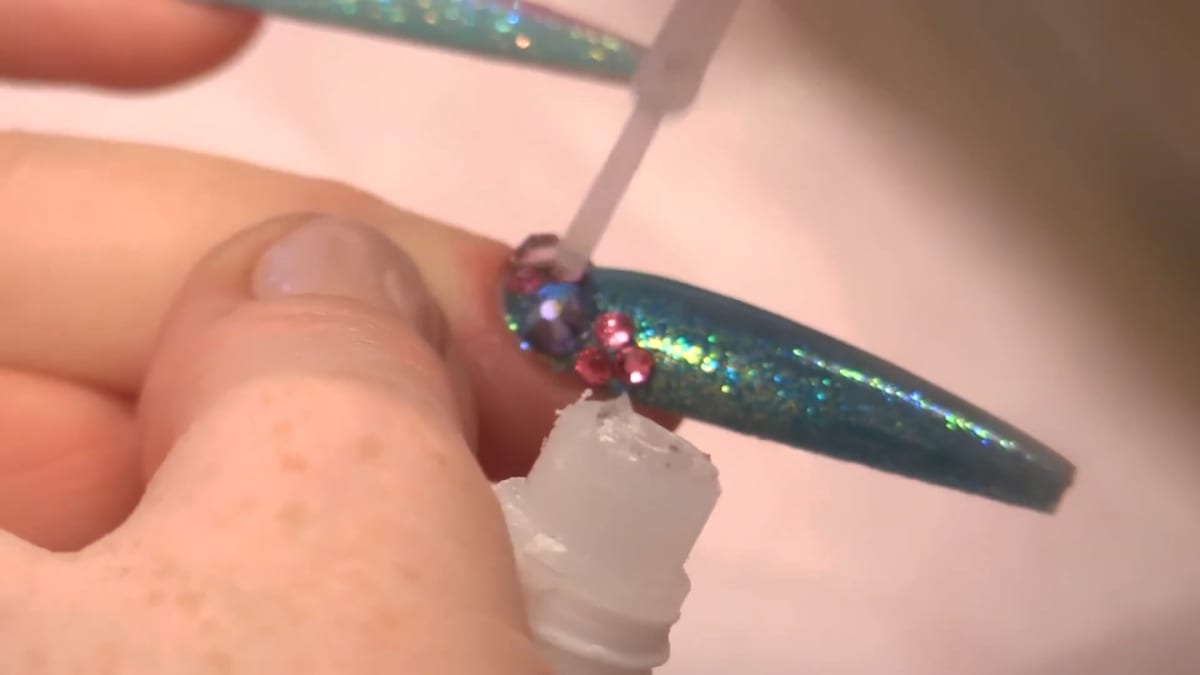
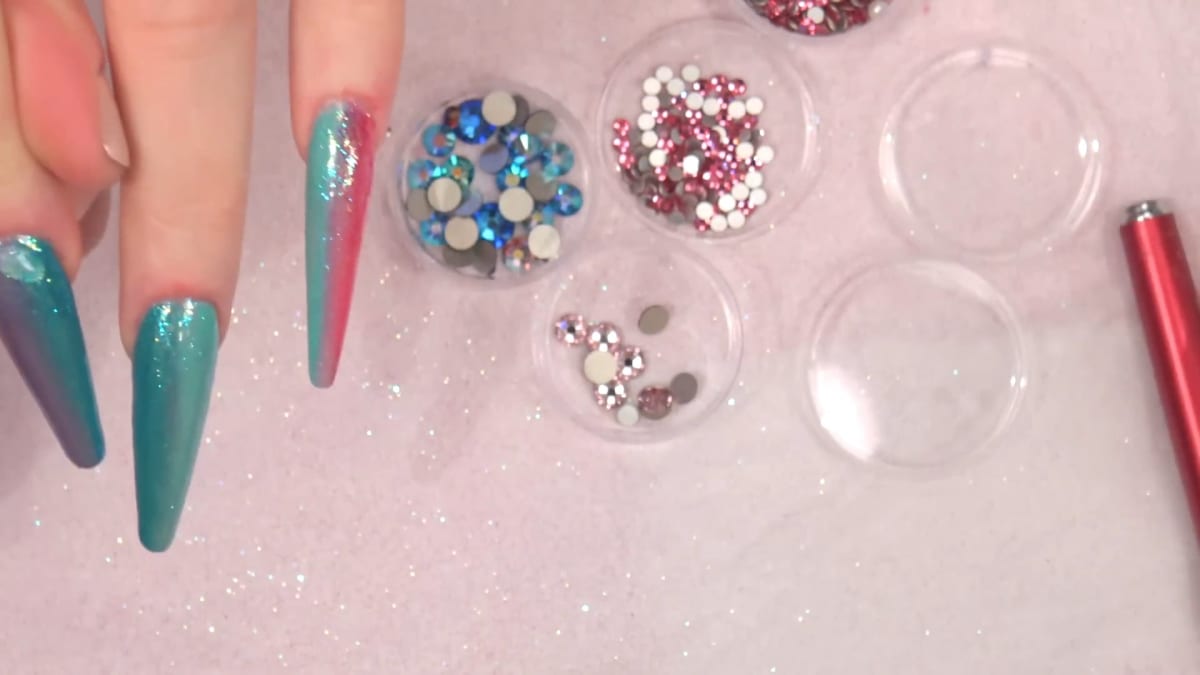
Remove the sticky layer with Gel Residue Remover. Use clear acrylic to put a few stones on, then seal around them with brush-on glue to hold them on longer. Watch this step at 8:00
Where to find each stage of the vertical ombre nails video
| Stage | Time |
|---|---|
| Dipping into glitter dust | 2:10 |
| Brushing on glitter dust | 3:40 |
| Continuing the colour sequence | 4:40 |
| Blending two colours | 5:40 |
| The finished set | 7:40 |
| Adding a stone | 8:00 |
Pro Tips
- Dust off glitter with a soft brush so it lies flat.
- Do two coats of each blend.
- Follow the colour sequence across the nails.
Who Is This Design For?
Anyone wanting a sparkly, girly, summery full set. Vertical ombre nails are also a nice change if you already do a standard fade, as the gel polish ombre technique is even simpler side to side.
Ways to Make It Your Own
- Pick your own colour sequence
- Swap the stones for another decoration
Aftercare
Keep nails and cuticles hydrated with oil.
Frequently Asked Questions
How do you do a vertical ombre with gel polish?
Paint half the nail in one colour and half in another, then drag a gel brush through the centre to fade them together. Do two coats.
Do you need a base coat?
Not on an acrylic nail.
How long do you cure the seal?
One minute.
How do you make the colours flow across the whole hand?
Start each nail with the colour the previous nail ended on.
How do you apply glitter dust?
Brush it onto the sticky layer, then dust off the excess with a soft brush so the particles lie flat.
How do you keep the stones on?
Set them in clear acrylic and seal around them with brush-on glue.
Give Vertical Ombre Nails a Try
Watch the video above and follow along with Kirsty to try this rainbow design.


