



To make quick galaxy nails, you paint a black gel polish base, cure a section of foil glue through the middle, rub a galaxy transfer foil onto it, then add a layer of blooming gel and dot on white stars before top coat. In this tutorial Kirsty uses foil in place of painting the galaxy with polish, so the design is super quick and great for a salon.
Galaxy nails done with polish alone can take time, and this is a fast way to get the same galaxy nail art look.
The blooming gel stars add a soft glow at the end. Below you'll find the products, each step with its place in the video, and Kirsty's tips.
At a Glance
- Design: quick galaxy nails with soft-focus stars
- Artist: Kirsty
- Technique: transfer foil over gel polish, with blooming gel
- Key products: Urban Graffiti Base Coat, Serious Black, Urban Graffiti Foil Glue, Cosmic, Galaxy and Marble Transfer Foil Set, Blooming Gel, Snow White, Urban Graffiti Top Coat
- Video length: about 13 minutes
Why You'll Love These Quick Galaxy Nails
- A very quick galaxy design
- Great for the salon, when time is tight
- Transfer foil gives a realistic galaxy look
- Blooming gel stars add a soft glow
Why Foil Makes Galaxy Nails Faster
The galaxy itself is already printed on the foil, so there is no layering or sponging of colour. Foil glue is painted only where the galaxy should sit, cured so it stays sticky, and the foil is rubbed on and peeled away. The black base does two jobs: it makes the galaxy foil look better, and it means any bits of foil that do not stick still leave a black nail that looks like space.
The stars are where the hand work comes in, and even that is forgiving. Dots of white placed onto wet blooming gel spread on their own into a soft focus, so this transfer foil nail art needs very little precision.
Products Used in This Video


How to Create Quick Galaxy Nails
1. Prepare the black base
Apply base coat and Serious Black. Kirsty's nail was already top coated, so she buffs the shine away. This helps the foil glue grip. Watch this step at 1:00
2. Apply the foil glue
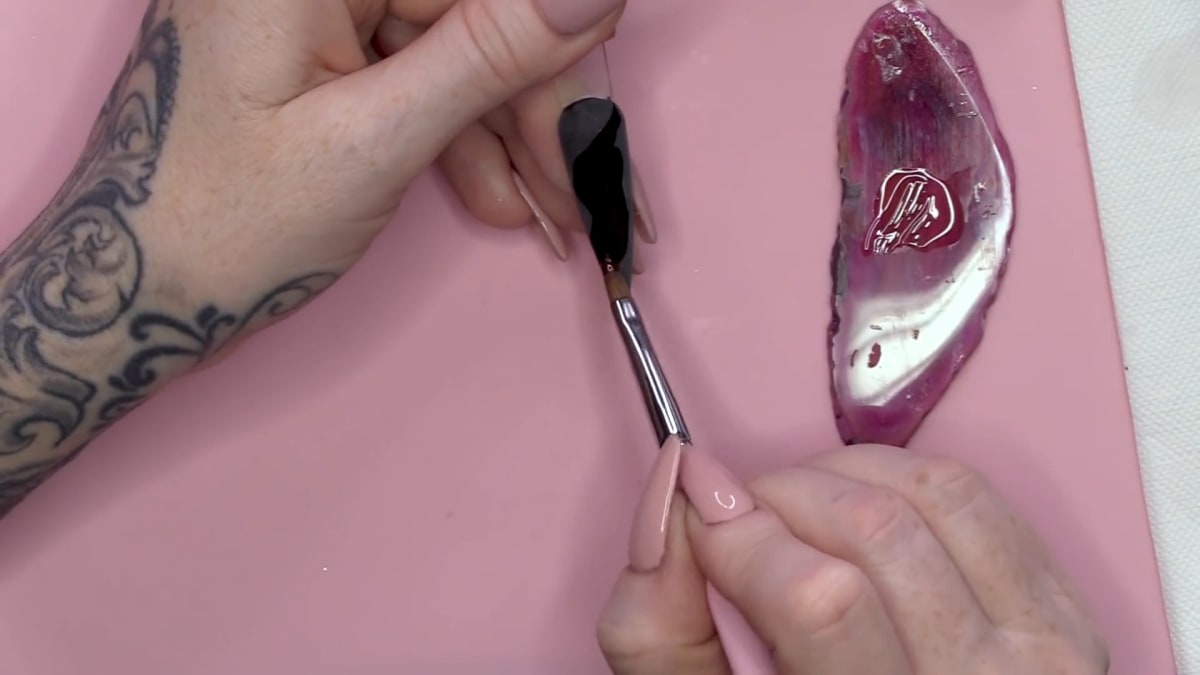
Put some foil glue on a palette and use a size 4 3D brush to paint a section through the middle of the nail. You can see where you are putting it. Cure it. The glue stays sticky. Watch this step at 3:00
3. Transfer the foil
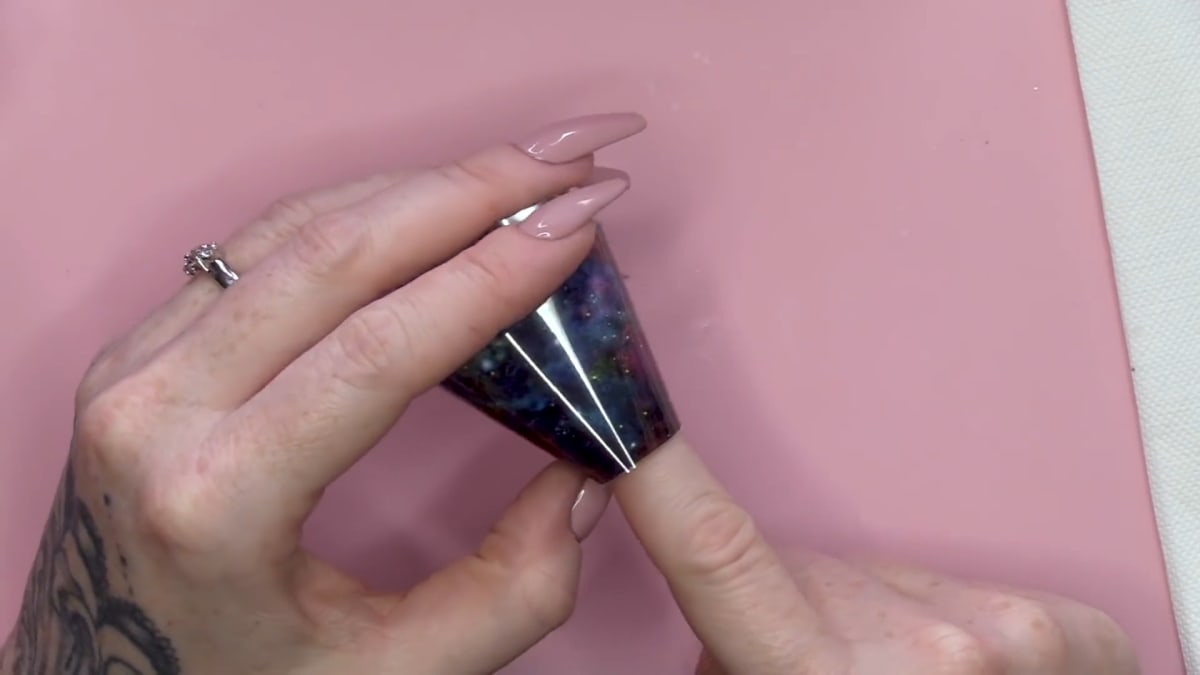
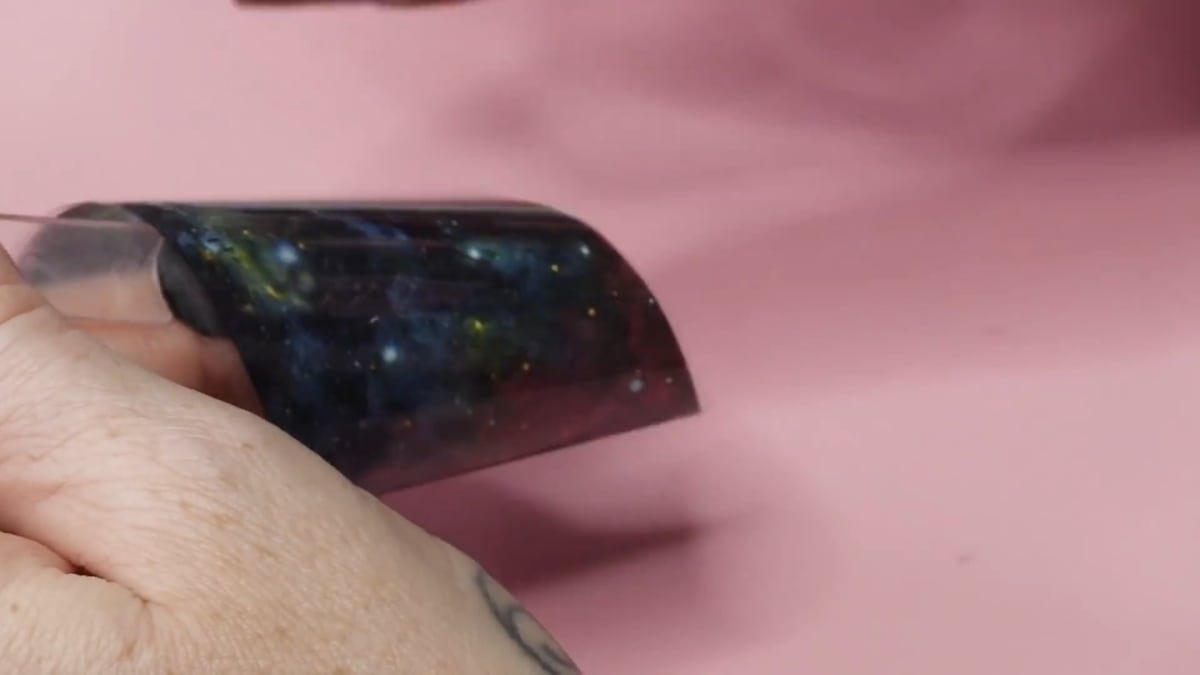
Choose the section of foil you like, make contact with the nail first, then rub it on firmly to make a good connection with the glue. Peel it off quickly. If any bits are missing, rub a little more. Watch this step at 4:40
4. Add the blooming gel
Apply a thin layer of Blooming Gel over the nail. Watch this step at 8:00
5. Dot on the stars
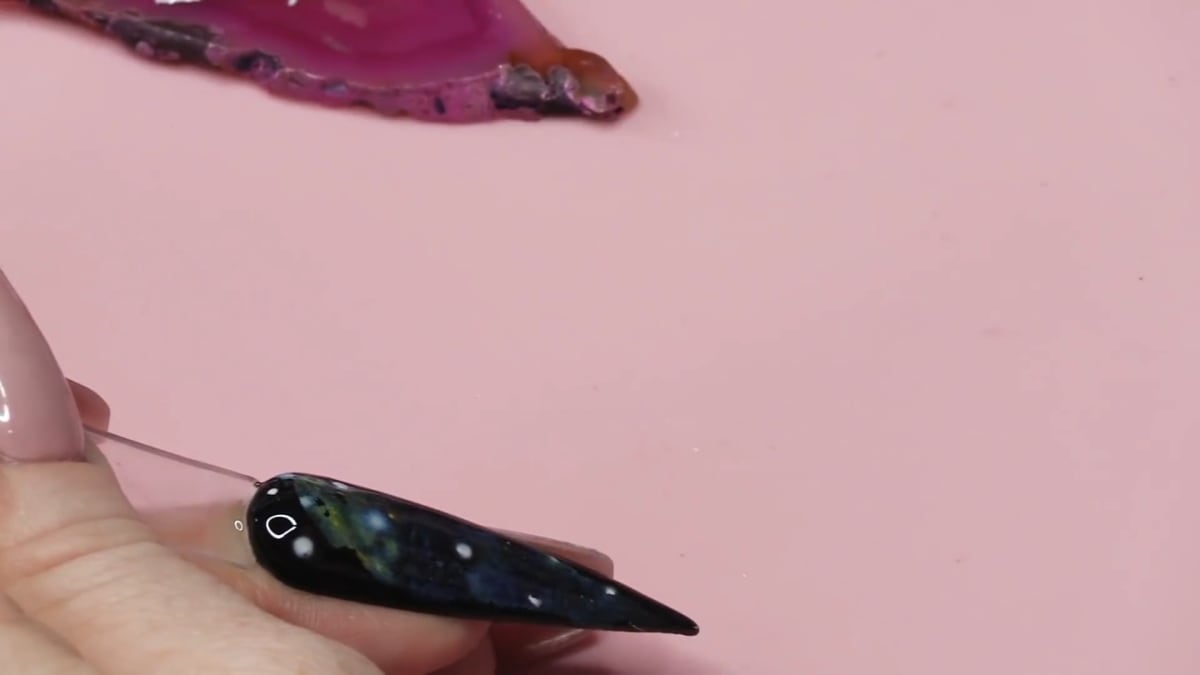
Take a little Snow White and use a dotting tool to make little stars. The blooming gel makes them bloom with a soft focus. Cure when you are happy with how much they have bloomed. Watch this step at 8:00
6. Add star lines and highlights
Use a 02 liner brush with white to pull lines out from the stars in a north, east, south, west formation. Highlight the middle with a little dab of white and add a dot to the existing starbursts. Cure. Watch this step at 9:20
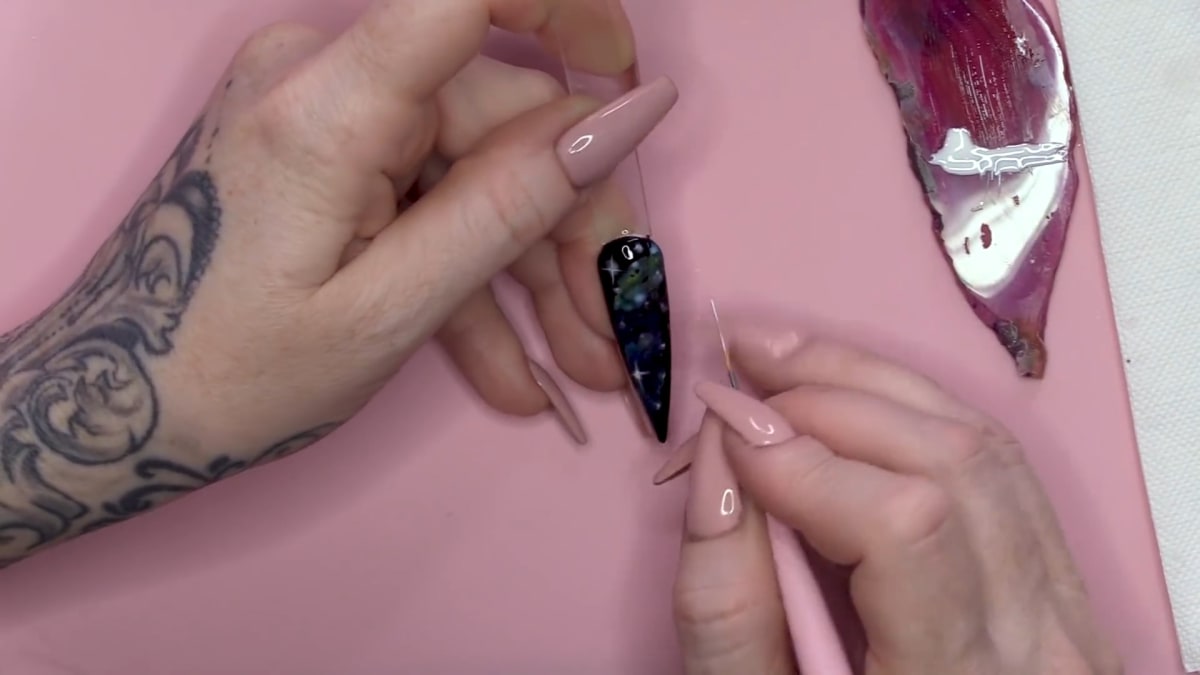
7. Top coat and smooth
Apply top coat and cure. Buff gently to smooth the dips where blooming gel colour was placed, then top coat again for an even surface. Watch this step at 11:40
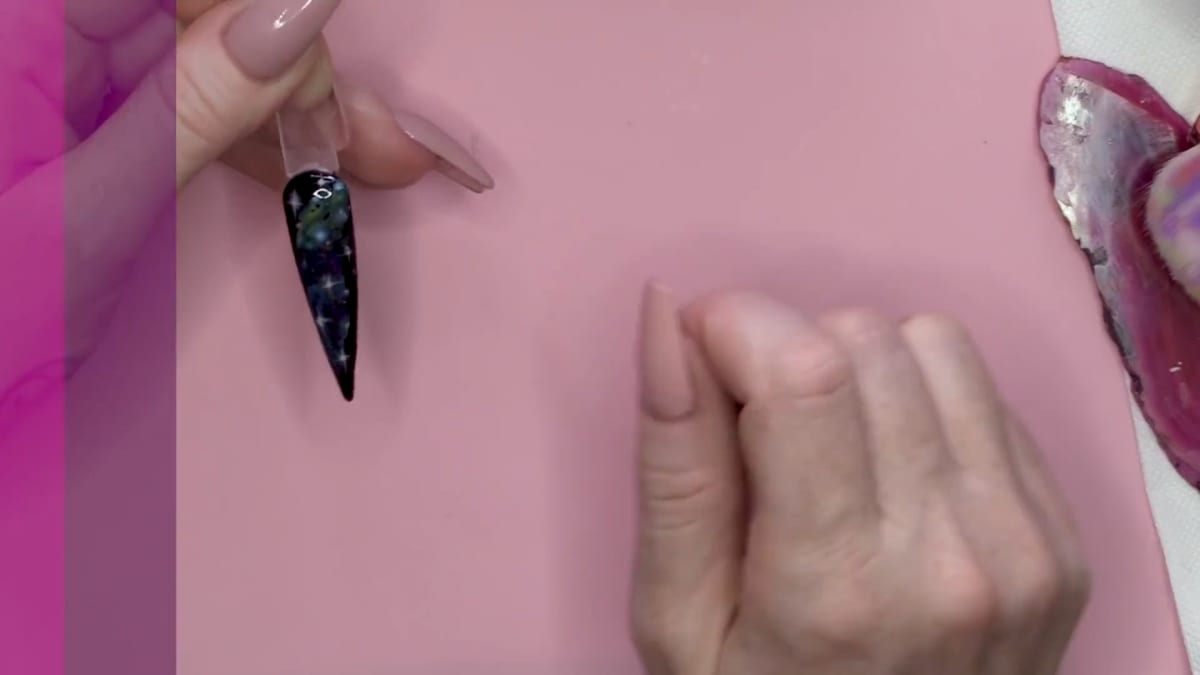
Where to find each stage of the Quick Galaxy Nails video
| Stage | Time |
|---|---|
| Black base | 1:00 |
| Foil glue | 3:00 |
| Pressing on the foil | 4:40 |
| Peeling and touching up | 6:20 |
| Blooming gel and stars | 8:00 |
| Star lines and highlights | 9:20 |
| Top coat and smoothing | 11:40 |
Pro Tips
- Use a black base so any missed foil still looks like galaxy.
- Make good contact with the nail first and rub the foil firmly.
- Buff gently before the final top coat to even out blooming gel dips.
- Add your own spin on the stars.
Who Is This Design For?
This design is for anyone who wants galaxy nails fast, and for salon techs short on time. It is a practical salon nail design because the foil does most of the work.
Ways to Make It Your Own
- Choose a different foil, such as marble or constellations
- Add more or fewer stars
- Change the size of the foil section
Aftercare
Keep your cuticles moisturised with oil daily and avoid using your nails as tools to protect the finish on your quick galaxy nails.
Frequently Asked Questions
How do you make quick galaxy nails?
Paint a black base, cure a section of foil glue, rub on galaxy transfer foil and peel it off, add blooming gel, dot on white stars, pull out star lines, then top coat.
Why use a black base for galaxy nails?
It looks like space, and any bits of foil that do not stick still leave a black nail.
How do you stop dips in blooming gel?
Gently buff the surface after the first top coat, then top coat again.
What are the stars made with?
Snow White dotted onto a layer of Blooming Gel.
What if the foil does not transfer fully?
Rub a little more foil onto the missing bits. The glue stays sticky after curing.
How do you get the best foil transfer?
Make contact with the nail first, rub the foil on firmly, then peel it off quickly.
How are the star lines painted?
With a 02 liner brush and white, pulled out from each star in a north, east, south, west formation.
Give Quick Galaxy Nails a Try
Watch the nail art tutorial above, then give it a go and share your results.


