



To finish extreme nude nails, you use small beads of clear acrylic as glue to attach a 3D bow and press studs round the edge of a nail. A chain is laid into sealer gel at the cuticle, and a dangling chain is set in acrylic on a form, then fixed under the nail before everything is top coated.
Update: Kirsty's high speed liquid is not listed separately, so Maximum Adhesion Primerless Acrylic Liquid is used in the products list.
In Part 3, Kirsty Meakin from Naio Nails finishes the extreme nude nail design. This stud and chain nail art tutorial shows how to secure embellishments so they last, and how to make a chain you can wear for a few days or for one evening.
At a Glance
- Design: a statement set finished with a bow, a border of studs and hanging chain
- Artist: Kirsty Meakin
- Technique: embellishments bedded into acrylic and sealer gel, then sealed with top coat
- Key products: Crystal Clear Acrylic Powder, Maximum Adhesion Primerless Acrylic Liquid, Brush-On Glue, Naio Nails Mega Gloss
- Video length: about 14 minutes
Why You'll Love These Extreme Nude Nails
- A 3D bow glued on with quick setting acrylic.
- A ring of studs around the nail.
- A dangling chain that doubles as a fashion accessory.
- Inspiration you can scale down to a couple of studs.
Products Used in This Video


How to Finish Extreme Nude Nails with Studs, a Bow and Chain
1. Fix the first embellishment
Put a little product in place and push the pointy corner of a piece into the little V. Flash cure for ten seconds.
2. Attach the 3D bow
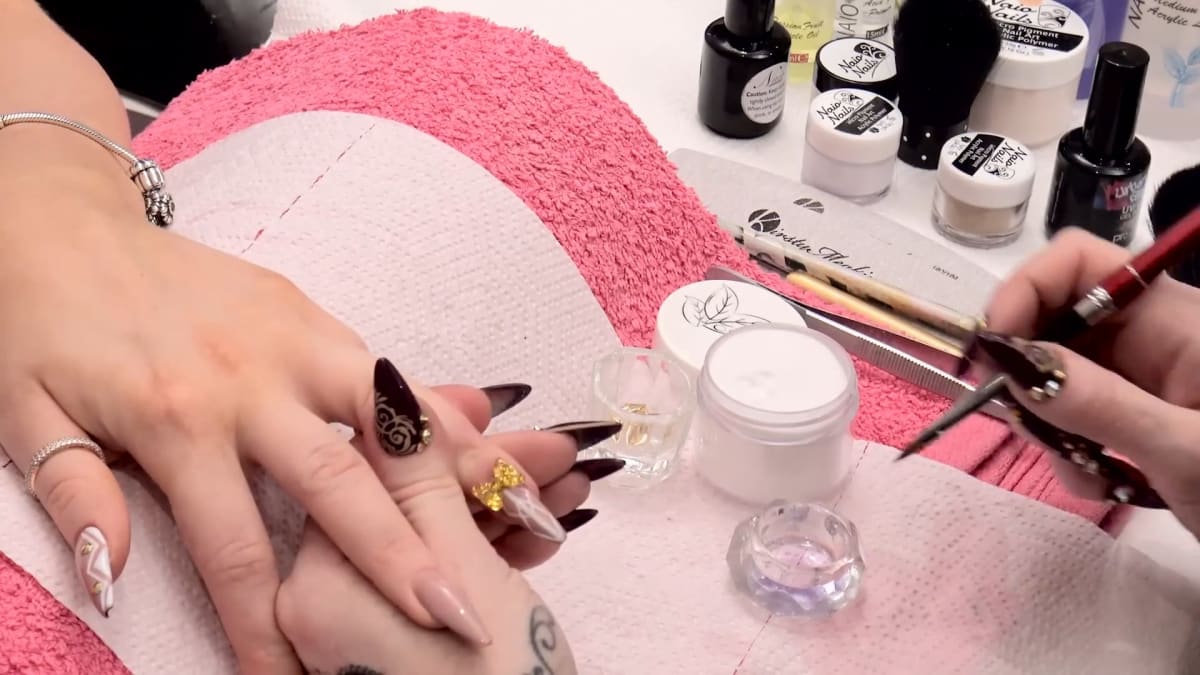
Use clear acrylic powder and a quick setting liquid, which is great for attaching embellishments. Pick up a small bead, not too dry or too wet, spread it out to the sides, tuck the middle up, and place the bow on. The acrylic acts like glue. Press, centre it, and take off any excess.
3. Support the bow
Put a bit of acrylic underneath the loops without touching the cuticle, so it sticks really well, stops anything catching and cannot be seen. Do both sides.
4. Add the studs
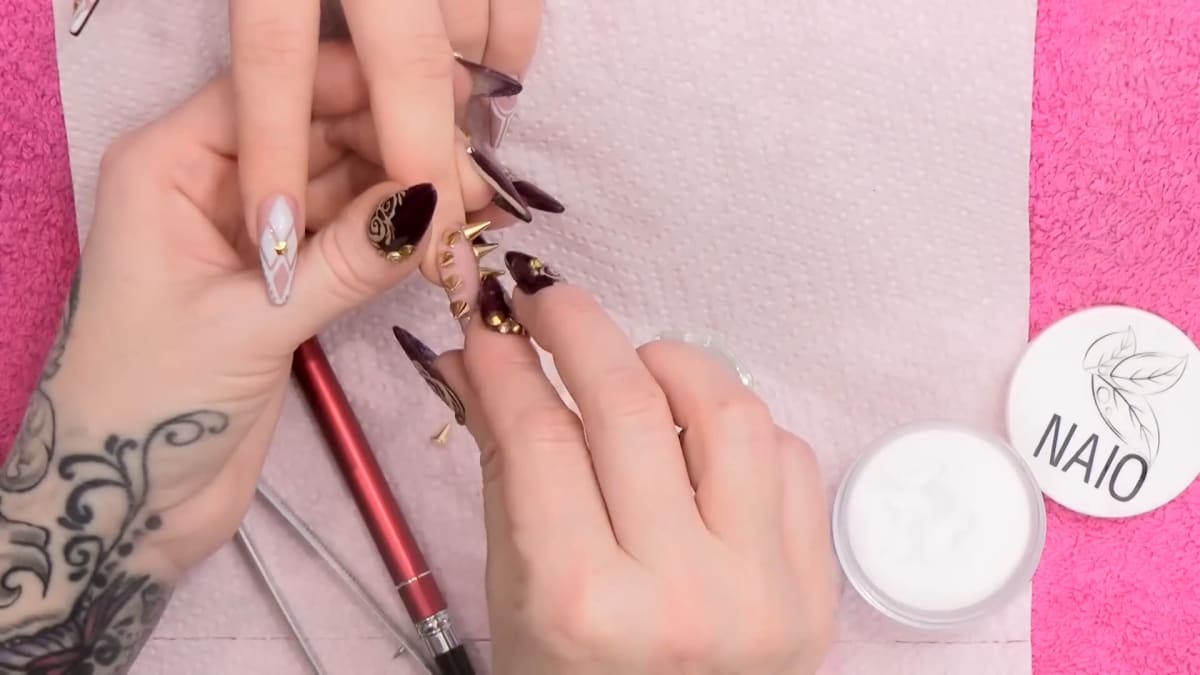
Use acrylic and apply a couple at a time, picking them up with your fingers and pressing them directly onto the beads. Continue round the nail, keeping them close to the edge and making sure they do not fall over. You can scrape off excess while it is still pliable. This look is a little extreme, so use it as inspiration and just add a couple of studs if you prefer.
5. Add the chain
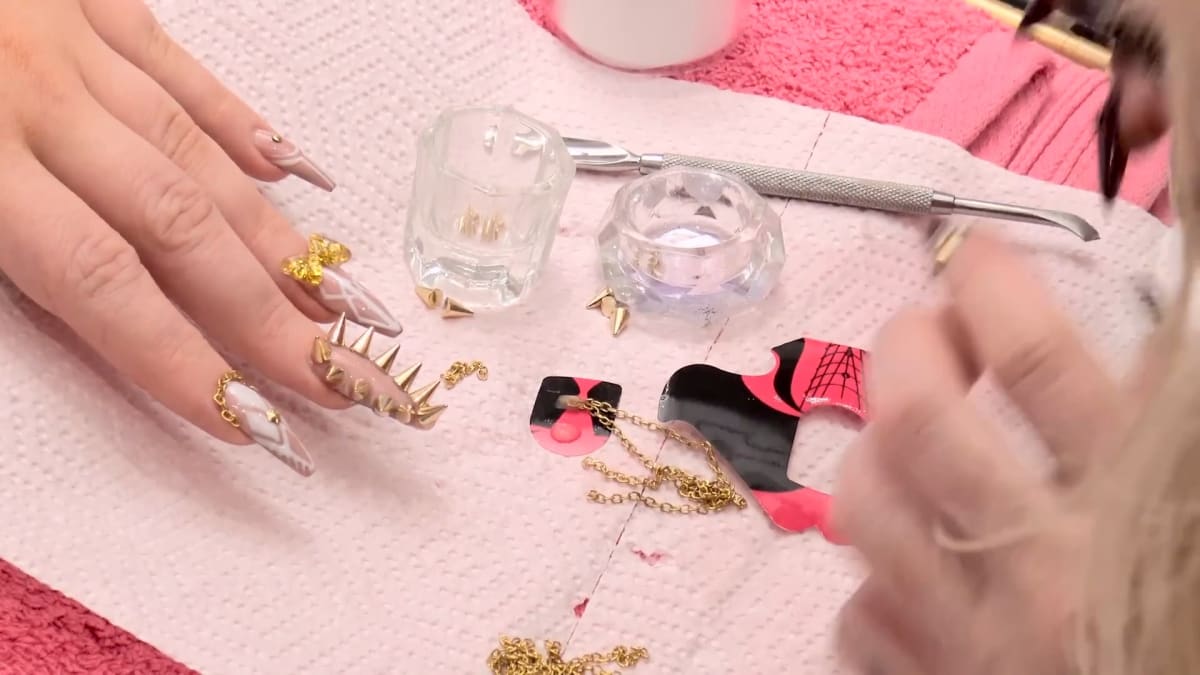
Pull the chain apart, or use old cuticle nippers. Use mega gloss sealer because it is thicker than gel polish and holds the chain better. Tap a little ring of product round the cuticle, find the middle of the chain, lay the centre on first, then move to each side. Arrange it and flash cure for about ten seconds.

6. Make the dangling accessory
Take a long piece of chain and a shorter piece about just over half the length. Put a bead of clear acrylic on a form, put the end of each chain in and add another bead on top. Do the same for the other side. Let it set, then attach it under the nail.
7. Choose how permanent it is
A small bead of acrylic keeps it on for a few days. For one evening, use brush on nail glue. For something more permanent, smooth in more acrylic. Check the chain is not twisted or tangled.
8. Top coat
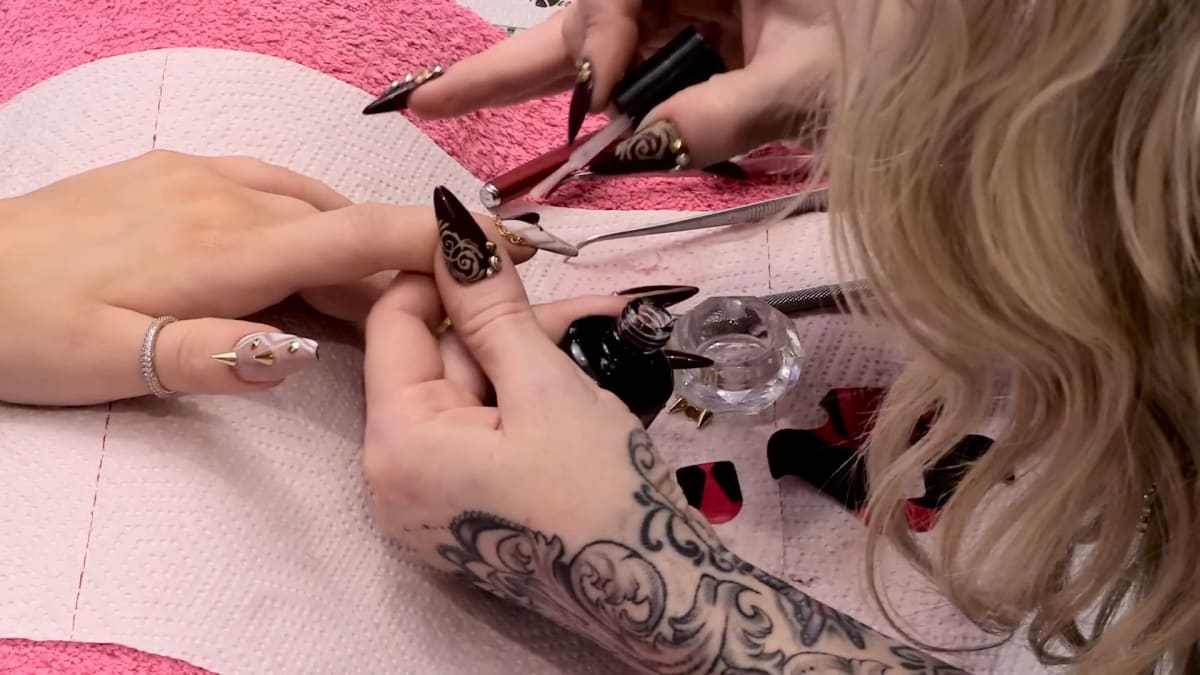
Check for fluff, then top coat right up to the chain without going into the cuticle, to avoid lifting. Cap the edge, and cover the studs with a coat of gel so they last longer and stay shinier. Cover the sides of the bow. Cure for one minute in an LED lamp.

9. Finish
Remove the sticky layer, going right in between the studs, then apply cuticle oil.
Pro Tips
- Do not let the bow support touch the cuticle.
- Top coat over studs so they last longer and stay shiny.
- Choose glue or acrylic depending on how permanent you want the chain to be.
Who Is This Design For?
Anyone who loves a glamorous rock chick nail design or wants a fashion accessory nail for a special evening.
Ways to Make It Your Own
- Use just a couple of studs.
- Fill the nail with studs.
- Use glue for a one night chain.
Aftercare
Take care with the chain and apply cuticle oil to replenish the skin.
Frequently Asked Questions
How do you add studs and chain to extreme nude nails?
Press the studs onto small beads of clear acrylic round the edge of the nail, lay the chain into a ring of sealer gel at the cuticle and flash cure it, then top coat over everything and cure.
Why use mega gloss to hold the chain?
It is thicker than gel polish so holds the chain better.
How long will the chain last?
A bead of acrylic keeps it on for a few days; brush on glue suits one evening.
Do the studs hurt?
Kirsty says they are not super sharp, but nice and soft.
How is the 3D bow attached?
With a small bead of clear acrylic that acts like glue, plus a little acrylic under each loop, kept away from the cuticle.
Should I top coat over the studs?
Yes. A coat of gel over the studs helps them last longer and stay shinier.
Give Extreme Nude Nails a Try
Watch the video above, and see Parts 1 and 2 for the design underneath.


