



Classic Christian Louboutin nails copy the famous designer shoes: a soft nude on top and a flash of bright red underneath. Kirsty Meakin from Naio Nails builds them on a clear tip, painting the tip red in gel polish, covering it with a nude acrylic overlay, then finishing the top with nude gel polish so the red only shows from below.
The trick is the clear tip. Because it is see-through, the red painted on it is visible from the underside once the top is covered. It is a very classy look that grabs attention every time the hand turns over.
This post follows the whole process in order, from applying the tip to the finished nail, with the time to watch each stage in the video.
At a Glance
- Design: nude almond nail with a red underside
- Artist: Kirsty
- Technique: clear tip, gel polish colour, one bead acrylic overlay, pinching
- Nail shape: almond
- Cure time: one minute LED or two minutes UV per gel layer
- Key products: clear tips, red and nude gel polish, Natural Beige Acrylic Powder, Top Coat, Pinching Tool
- Video length: about 15 minutes
Why You'll Love These Classic Christian Louboutin Nails
- A hidden flash of red underneath, just like the shoes
- A classy almond shape with a soft nude top
- Uses clear tips, gel polish and acrylic together
- Quick one bead acrylic application
How the Red Sole Effect Works
The red goes on first, on the clear tip only and never on the natural nail. It is sealed with top coat, and that gel layer is there purely for colour. To let acrylic grip it, the shine is buffed off very lightly: just enough to dull the surface, not enough to cut into the red.
The nude acrylic then covers the whole nail in a single large bead, which hides the red from above. A final two coats of nude gel polish make sure none of the red shows through the top. Turn the hand over and the sole is bright red.
Products Used in This Video


How to Create Classic Christian Louboutin Nails
1. Apply the tip
Prep the nail, take away the shine and push the cuticles back. Clean with Gel Residue Remover so there is no oil, then fit a clear tip with a short contact area and brush the glue into the well, rocking the tip on so it disperses. Watch this step at 0:40

2. Shape and blend
Cut the length, take the corners away and file the side walls straight into a nice almond shape. Pinch the tip slightly for a deeper C curve, blend the contact area, then wipe across the nail with pure acetone on a lint free wipe to melt and smooth it.
3. Dehydrate and apply the red
Dehydrate the nail, then apply a thin coat of Top Coat over the tip and cap the edge. Cure in the LED lamp for 60 seconds. Apply two coats of Fire Cracker over the clear tip only, not the natural nail, and cure for one minute in an LED lamp or two minutes in UV. Watch this step at 4:20
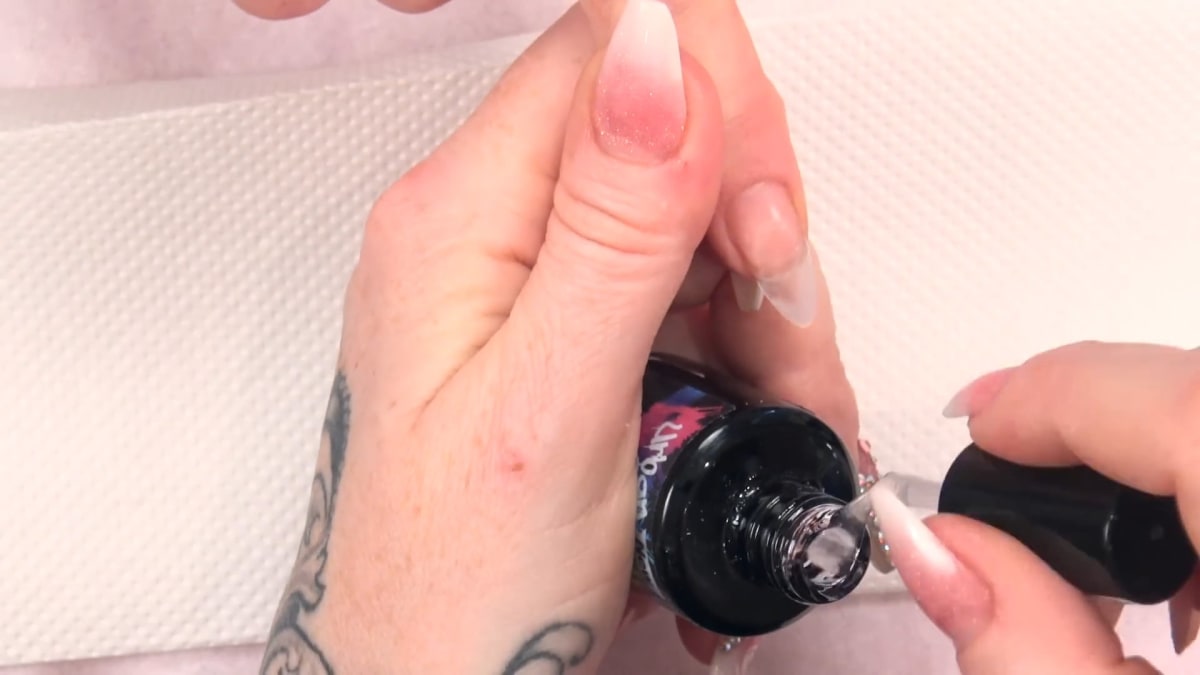
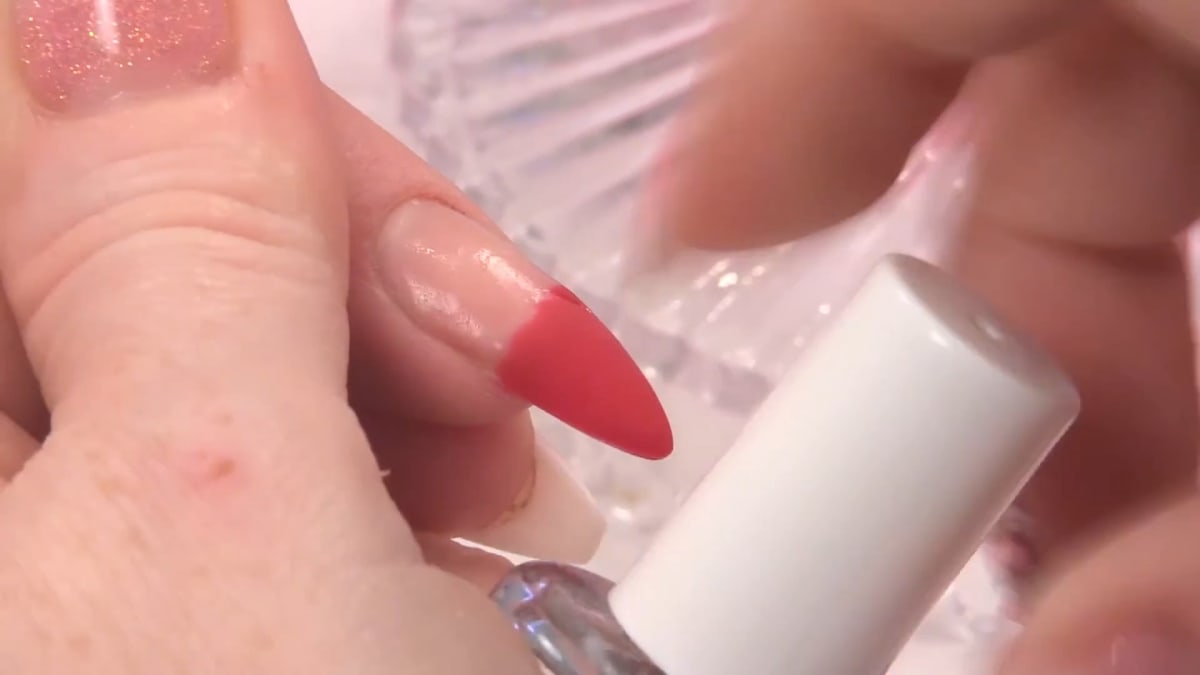
4. Seal and prepare for acrylic
Seal with Top Coat, cure, then wipe off the sticky layer. Buff just enough to take the shine off so the acrylic can adhere to the gel polish, then dehydrate and prime the natural nail.
5. Apply the acrylic
Use Natural Beige with Max Adhesion liquid. With the finger pointing down so the product runs away from the cuticle, pat a large, medium to dry bead at the cuticle and bring it down. One bead covers the whole nail, so it sets all at once. Watch this step at 8:40
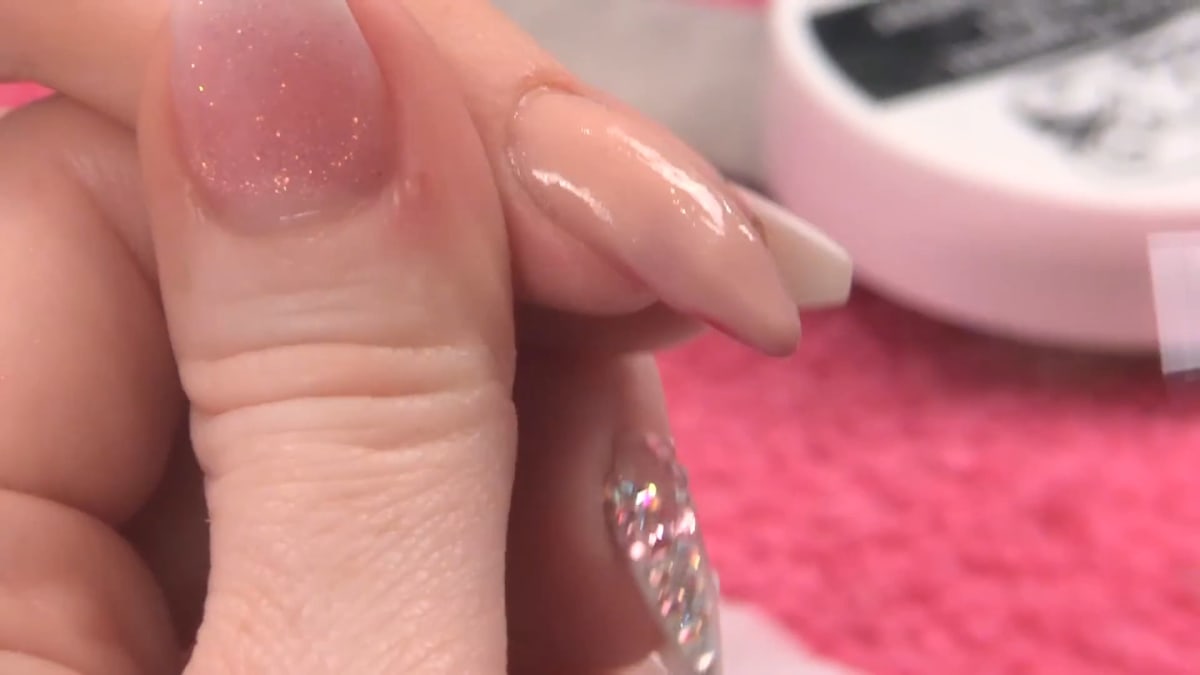
6. Pinch
Pinch when the product has gone matte but is not completely set. Test pinch with your fingers first, then use the Pinching Tool. The further down the tool you go, the stronger the pinch. A medium pinch works here, with a little extra at the very tip. Watch this step at 9:50
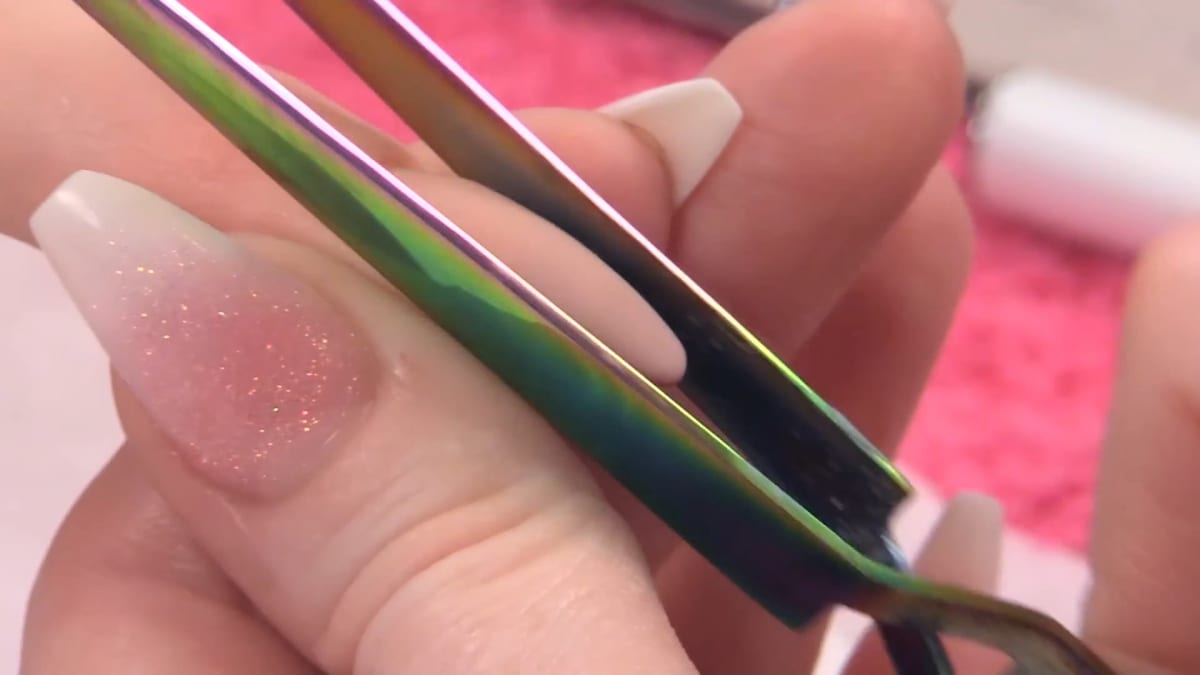
7. File
File the side walls straight first, then around the cuticle and tidy the edge. Do the full length of the top surface, looking down the barrel of the nail, and check the side view so the apex sits in the back third. Smooth with a buffer, dust away and wipe with Gel Residue Remover.
8. Add the nude gel polish
Apply two coats of Baby Cakes so none of the red shows through, curing for one minute in the LED lamp. Seal with Top Coat and cure for one minute, then wipe off the sticky layer.
9. Finish with cuticle oil
Massage cuticle oil in all the way around, including underneath, to finish the nail with its gorgeous red underside. Watch this step at 14:40
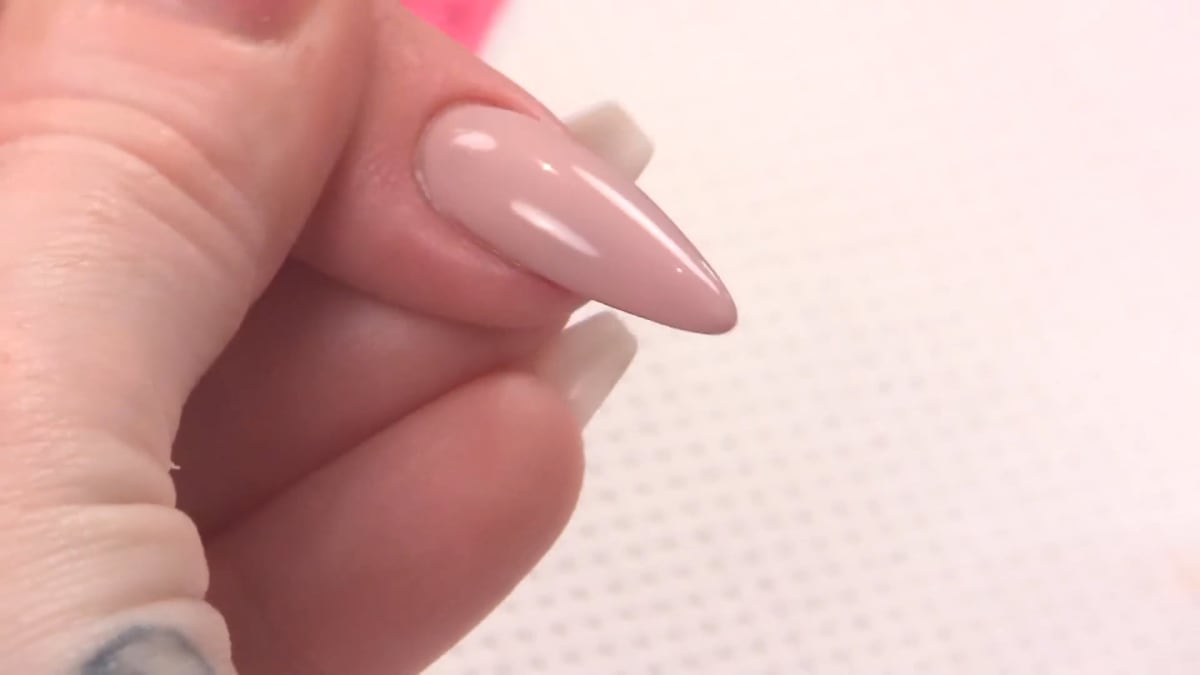
Where to find each stage of the classic Christian Louboutin nails video
| Stage | Time |
|---|---|
| Applying the clear tip | 0:40 |
| Applying the red gel polish | 4:20 |
| Finished red underside | 7:10 |
| Acrylic overlay | 8:40 |
| Pinching | 9:50 |
| Finished nude nail | 14:40 |
Pro Tips
- Choose your shape to suit your design. A classy almond suits this look.
- Do not file too much with the buffer over the gel polish, just take the shine off.
- Use a large bead with a lot of pigment so one bead covers the nail.
Common Mistakes and How to Fix Them
- Red on the natural nail. This ruins the hidden-red effect. Keep the red on the clear tip only.
- Buffing the gel polish too much. You can take off too much colour. Only remove the shine.
Who Is This Design For?
Anyone who loves a timeless, classy nude nail with a fun secret. Classic Christian Louboutin nails suit nail techs practising tips and acrylic as well as clients wanting a statement set of nude acrylic nails.
Ways to Make It Your Own
- Add nail art on top once the colour is sealed
- Try a different shape for a funkier look
- Leave the nail plain after the nude coat for a minimalist finish
Aftercare
Massage cuticle oil into the nails every day to keep the cuticles soft and the nails looking fresh.
Frequently Asked Questions
How do you do Christian Louboutin nails with a red underside?
Fit a clear tip, paint the tip red in gel polish, cover the top with nude acrylic and nude gel polish, and the red shows from underneath.
Why use clear tips?
The clear tip lets the red gel polish show on the underside, just like a Louboutin shoe.
Why buff the gel polish before acrylic?
Taking the shine off helps the acrylic adhere to the gel polish, which is only there for colour.
How long does each gel layer cure?
One minute in an LED lamp, or two minutes in UV.
When do you pinch the acrylic?
When the product has gone matte but is not completely set. Test with your fingers first.
How many beads of acrylic does the overlay need?
One large, medium to dry bead placed at the cuticle and brought down covers the whole nail.
Where does the apex sit?
In the back third of the nail.
Give Classic Christian Louboutin Nails a Try
Watch the video above and follow along with Kirsty to create your own classic red sole nails.


