



Holochrome pigment nails in this design are made by rubbing holographic chrome pigment over the whole nail, painting a pattern on top in Mega Gloss, curing it, and then wiping away all the pigment that the gel did not seal in. Kirsty Meakin from Naio Nails shows it over black and over a pink French nail.
You see the base colour in the background and the holographic on top, and because the pattern is raised gel it looks very textured. It is an embossed effect from a very simple method.
Below is each stage in order, with the time to watch it in the video.
At a Glance
- Design: an embossed holographic pattern over black or pink
- Artist: Kirsty
- Technique: pigment sealed under a painted gel pattern, then wiped to reveal
- Skill level: super simple
- Cure time: one minute in LED or two in UV for the pattern
- Key products: Serious Black, Top Coat, Mega Gloss, Gel Residue Remover, holographic chrome pigment
- Video length: about 8 minutes 45 seconds
Why You'll Love These Holochrome Pigment Nails
- A textured, embossed finish
- Works over black, pink or any colour
- Super simple but very effective
How the Wipe to Reveal Technique Works
Normally chrome pigment is sealed all over. Here only part of it is. The pigment is rubbed over the whole nail, and the pattern painted in Mega Gloss acts as a selective seal. Once that is fully cured, a wipe with Gel Residue Remover takes away every bit of pigment that is not under the gel, and the base colour comes back.
What is left is holographic chrome only where the pattern was painted, sitting slightly raised. You can seal over it again, but leaving it as it is keeps the embossed, more textured look.
Products Used in This Video


How to Create Holochrome Pigment Nails
1. Colour the nails
On a nail extension made with Natural Beige, apply two coats of Serious Black, or any colour you like. On another nail, create a French design with a smile line. Cure. Watch this step at 1:50
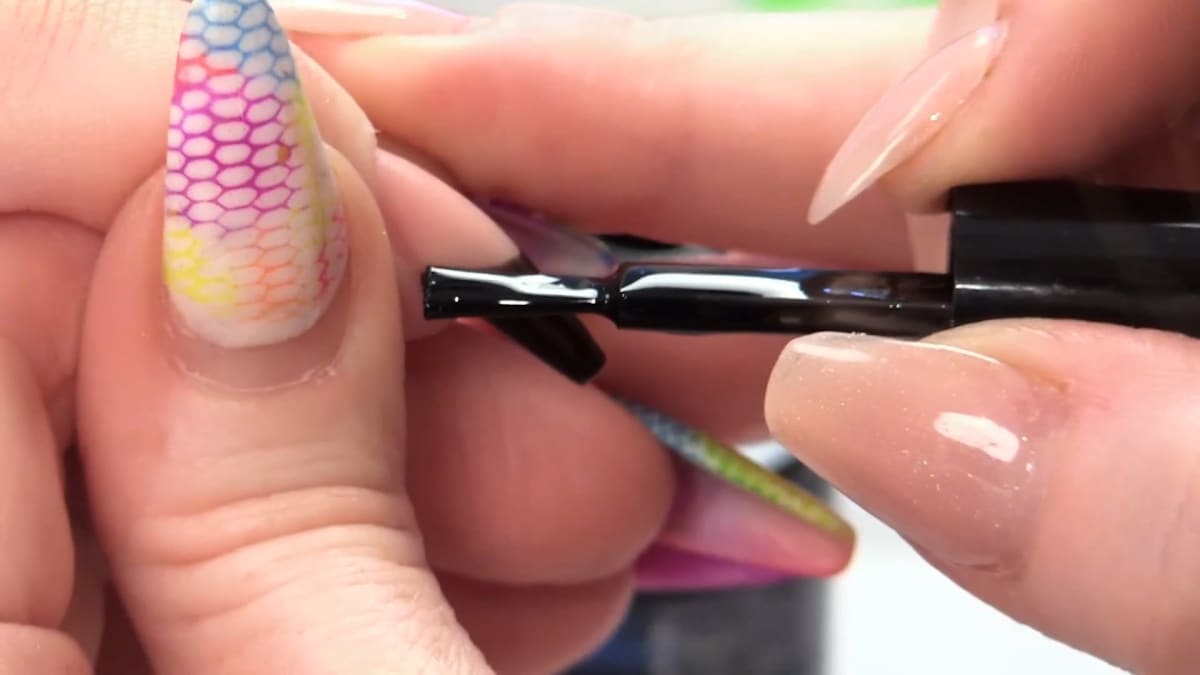
2. Apply top coat
Seal with Top Coat, which also acts as the layer that adheres the pigment. Cure. Watch this step at 2:50
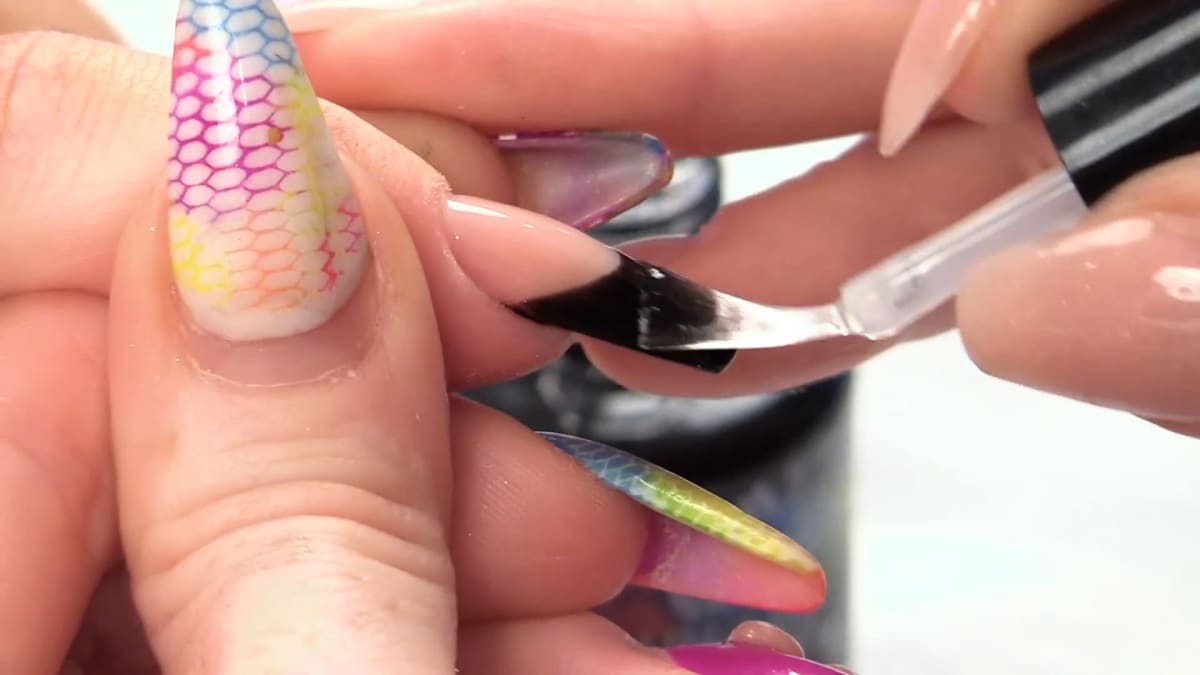
3. Remove the sticky layer
Use a dry, lint free paper pad to wipe off the sticky layer completely dry, with no gel residue solution.
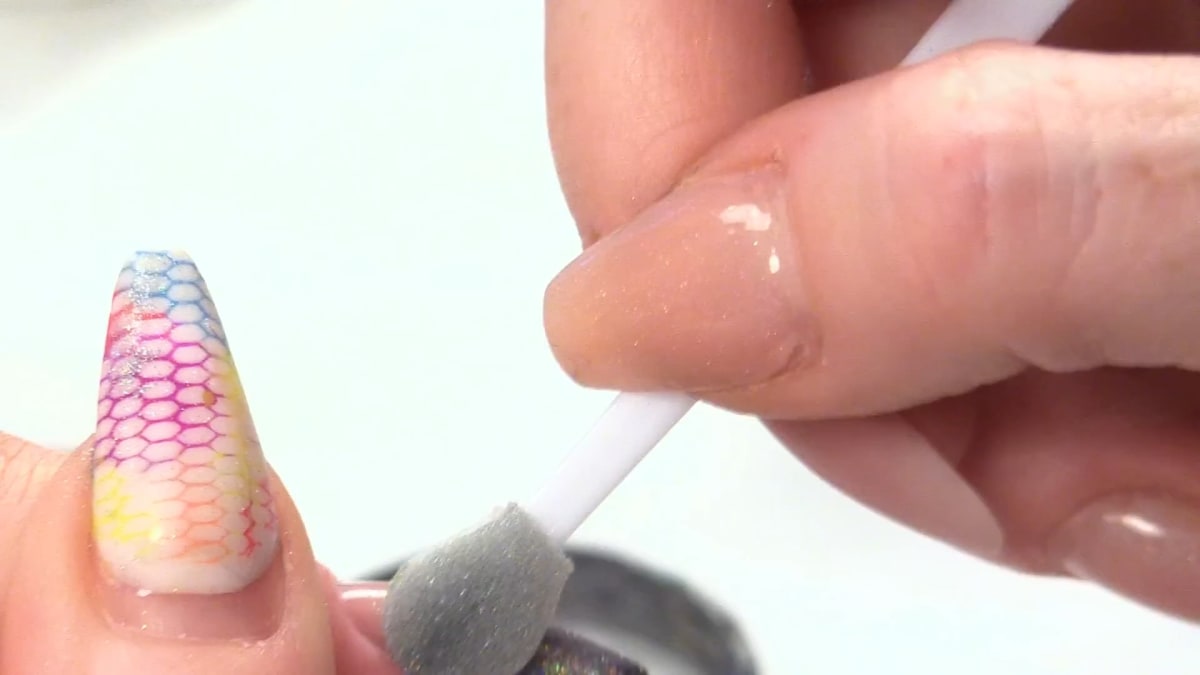
4. Apply the pigment
Pat on some holochrome pigment and rub it in, on both the black and pink nails. Watch this step at 3:50
5. Paint the pattern
Put Mega Gloss in the well of an upside down dampen dish and use a brush to paint a design as if it were paint. Cure, then do a smaller design on the other nail. Fully cure for one minute in LED or two in UV.
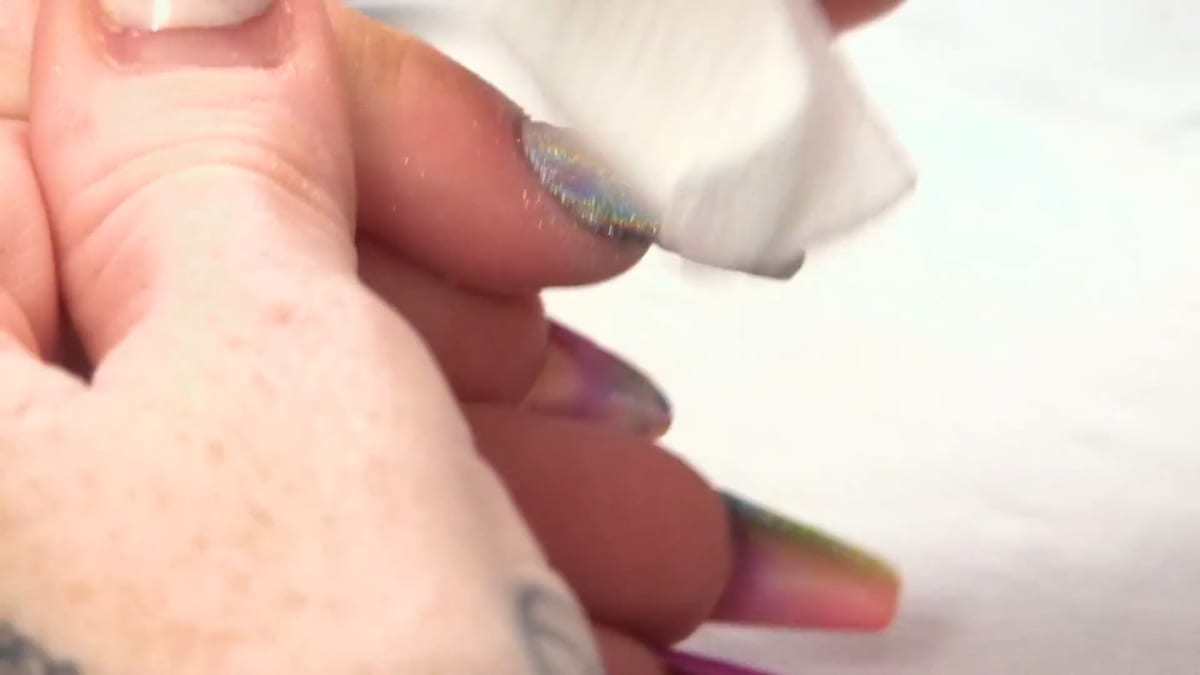
6. Wipe to reveal
Use a lint free pad, which grabs the pigment better, with a little Gel Residue Remover, and wipe the nail until the design is revealed. The solution takes away the pigment that has not been sealed in by the Mega Gloss. Watch this step at 5:50

7. Finish
You can reseal with Mega Gloss or Top Coat, but you do not have to, as leaving it gives an embossed, more textured look. Finish with cuticle oil. Watch this step at 8:00

Where to find each stage of the holochrome pigment nails video
| Stage | Time |
|---|---|
| Black base colour | 1:50 |
| Sealing with top coat | 2:50 |
| Applying the pigment | 3:50 |
| Wiping away unsealed pigment | 5:50 |
| Pattern revealed | 7:00 |
| Finished design | 8:00 |
Pro Tips
- Use a dry lint free pad to remove the sticky layer.
- Use a lint free pad, not a paper one, to reveal the design as it grabs the pigment better.
- The effect is softer on pink and stands out more on black.
Who Is This Design For?
Anyone who wants a quick, effective texture design. Holochrome pigment nails done this way need no fine painting skills, only a steady pattern in clear gel.
Ways to Make It Your Own
- Use any colour underneath
- Try different patterns
Aftercare
Finish with cuticle oil.
Frequently Asked Questions
How do you make an embossed design with holochrome pigment?
Rub the pigment over the nail, paint a pattern over it in Mega Gloss, cure, and wipe away the unsealed pigment with Gel Residue Remover.
What does the gel residue solution do?
It removes the pigment that was not sealed in by Mega Gloss.
Do you need to seal afterwards?
You do not have to, and leaving it gives an embossed look.
Does it work on any colour?
Yes, the base colour shows through. It is softer on pink and stands out more on black.
How long do you cure the pattern?
Fully, for one minute in LED or two in UV, before wiping.
Which pad is best for wiping?
A lint free pad rather than a paper one, as it grabs the pigment better.
Give Holochrome Pigment Nails a Try
Watch the video above and follow along with Kirsty.


