



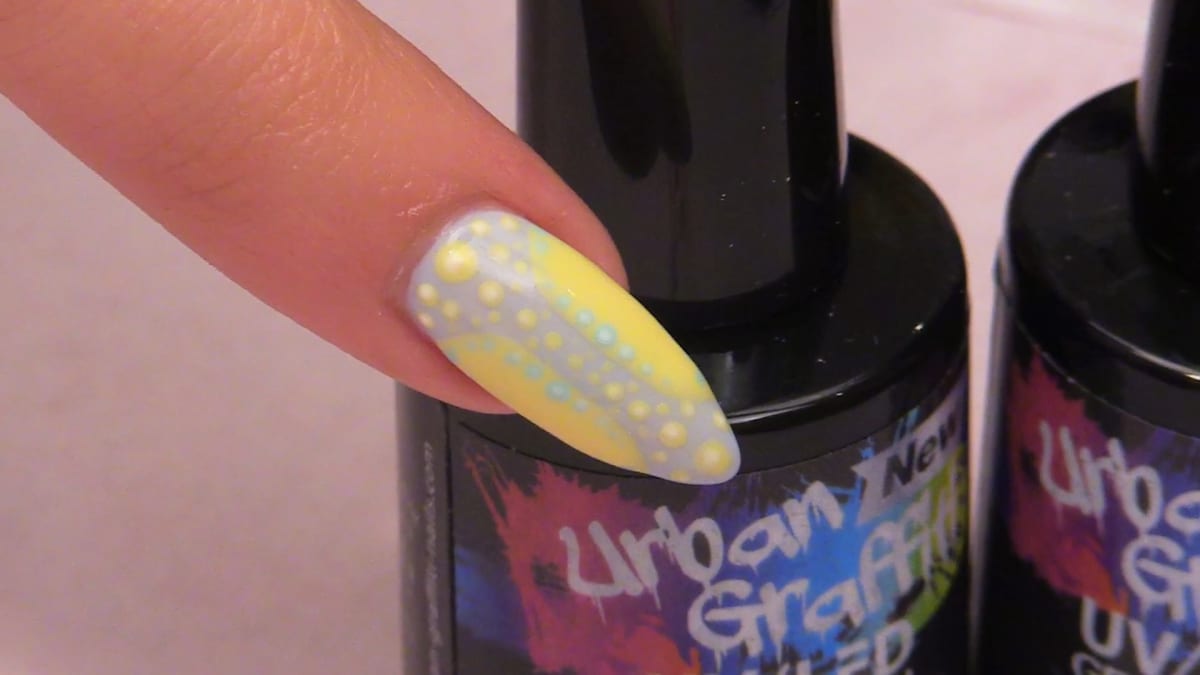
Dotting tool summer nails are a bright dotted design made with only gel polish and a dotting tool: a yellow D-shaped section on each side of a soft grey-blue nail, finished with dots that run from big to small. Kirsty Meakin uses the dotting tool like a pen to draw the shapes, cures each layer and seals the design with top coat.
It is simple but very effective, and there is no brushwork to worry about. If you can place a dot, you can do this design.
This post covers every stage in order with the time to watch it in the video, the reason a dotting tool sometimes drags, and the cure times.
At a Glance
- Design: yellow D shapes and graduated dots on a soft grey-blue base
- Artist: Kirsty
- Season: summer
- Technique: gel polish applied with a dotting tool
- Nail shape: almond acrylic extension
- Skill level: easy and beginner friendly
- Key products: gel polish in blue, yellow and white, Dotting Tool, Top Coat, Gel Residue Remover
- Video length: about 6 minutes
Why You'll Love These Dotting Tool Summer Nails
- Very easy and beginner friendly.
- Bright, summery colour.
- Works in any colours you like.
Why Gel Moves Gel
The one idea behind this dotting tool nail art is that gel moves gel. A dotting tool with gel polish on it glides and leaves a smooth shape. A dry tool does the opposite and drags a line through the colour.
So when Kirsty draws the D shapes, she keeps topping up the tool from a foil palette. The same applies to the dots: reload for each one and they stay round.
Products Used in This Video


How to Create Dotting Tool Summer Nails
1. Prepare the base
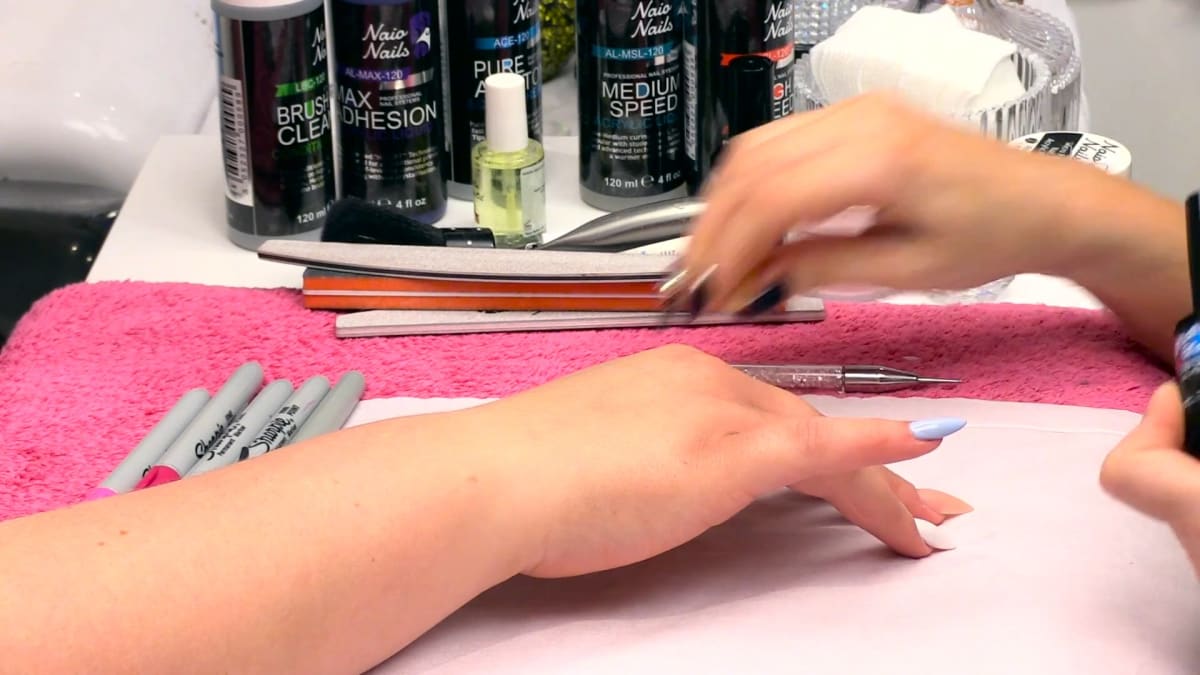
Start with an almond acrylic extension and the soft blue gel polish. Watch this step at 0:40
2. Paint the D shapes
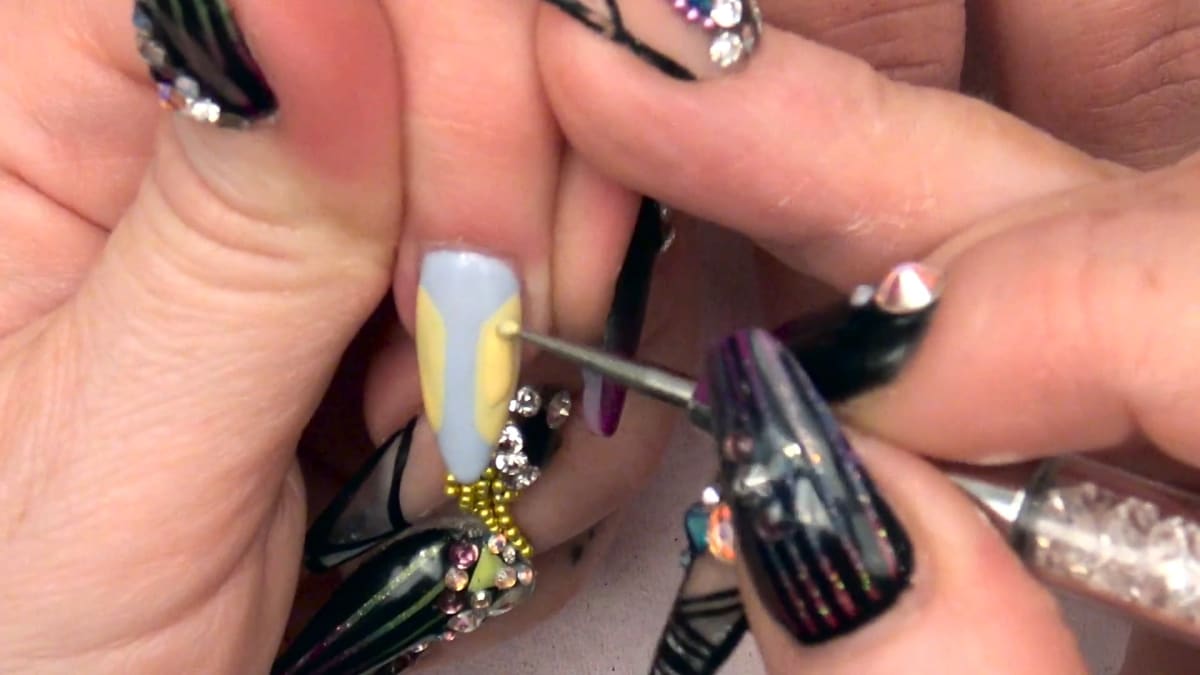
Put the yellow on a foil palette and use the dotting tool like a pen to create a D-shaped section on each side, mirroring them. Gel moves gel, so keep some gel on the tool. Cure one minute each side and add a second coat to make it opaque. Watch this step at 2:20
3. Add the dots
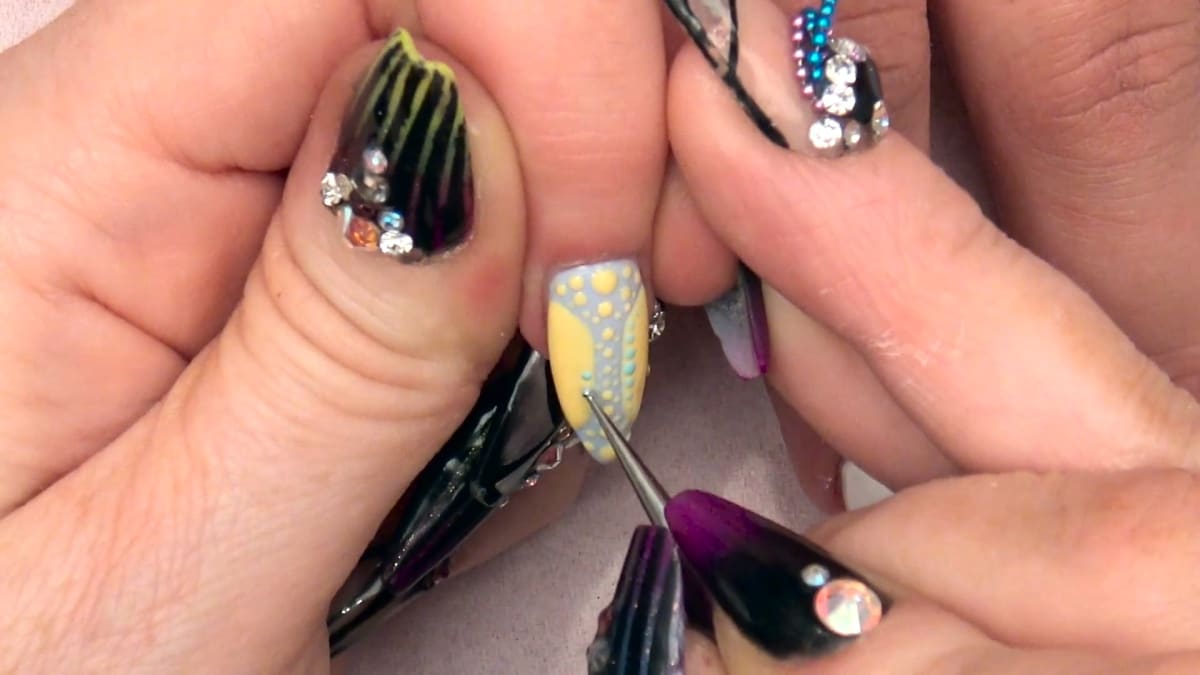
Add dots from bigger to smaller, using the smaller end of the tool for the tiniest, curing each time. Watch this step at 4:00
4. Highlight
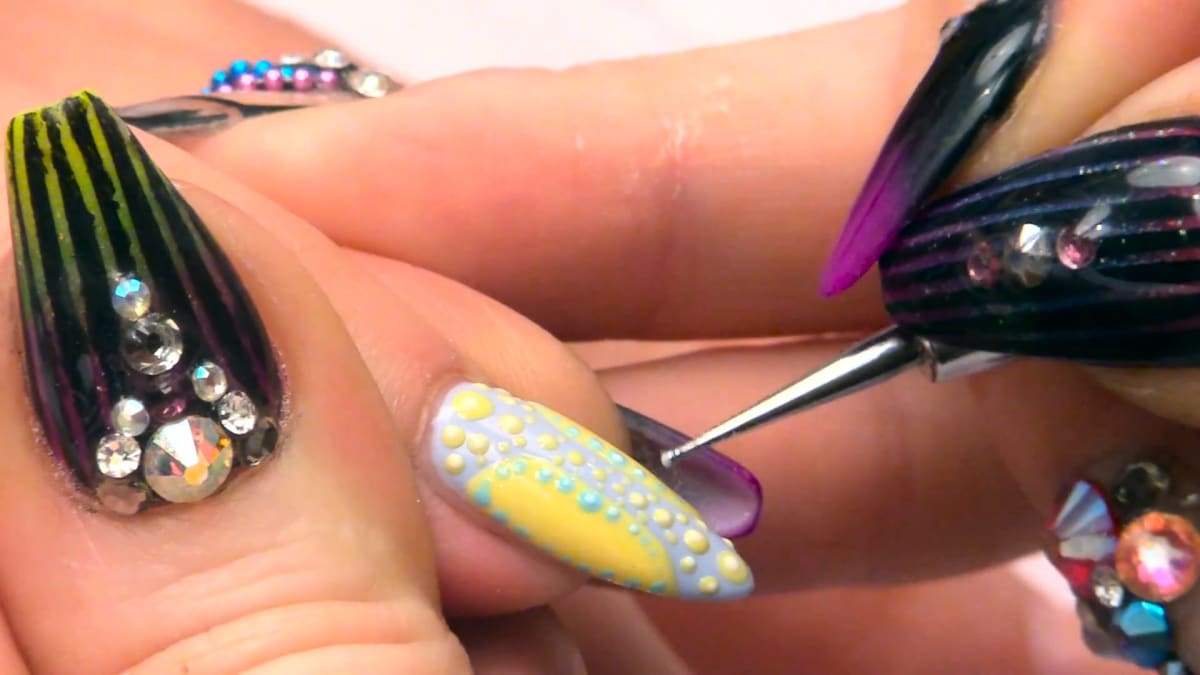
Edge the D shapes with the blue and the background colour, and add white dots to the centre and top of the larger dots. Watch this step at 4:50
5. Seal
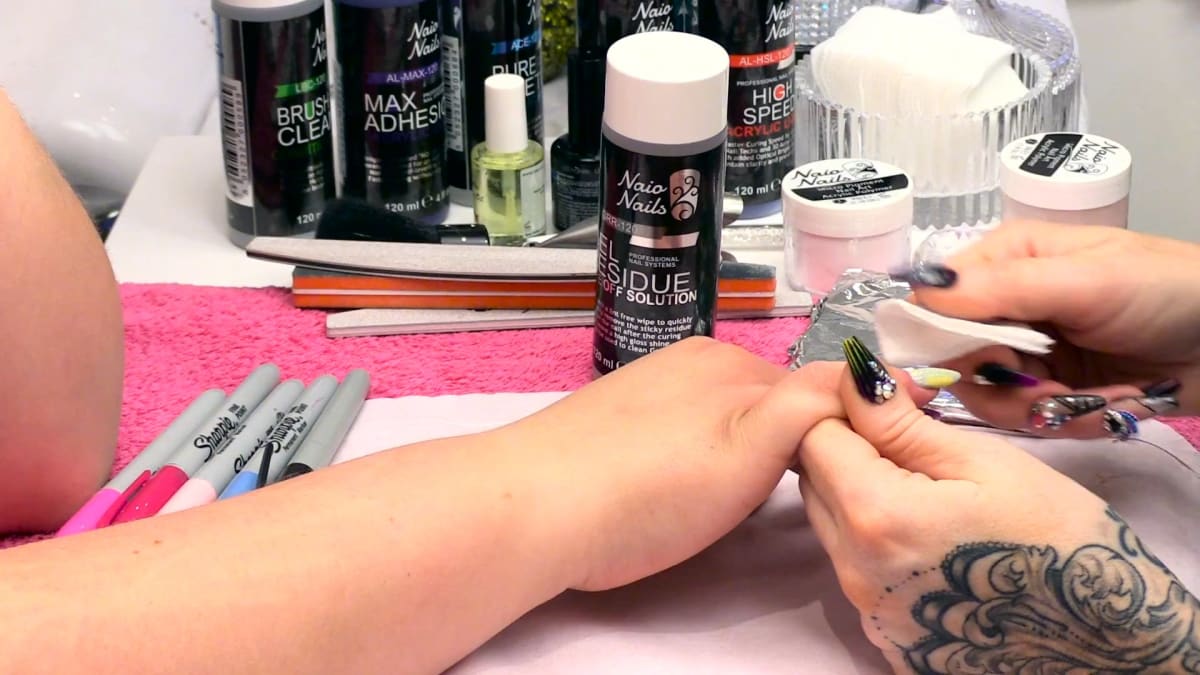
Apply two coats of top coat, curing each, wipe with Gel Residue Remover, then apply cuticle oil. Watch this step at 5:30
Where to find each stage of the dotting tool summer nails video
| Stage | Time |
|---|---|
| Applying the soft blue base | 0:40 |
| Painting the yellow D shapes | 2:20 |
| Adding the graduated dots | 4:00 |
| Highlighting the edges | 4:50 |
| Wiping off the sticky layer | 5:30 |
| Finished design | 5:55 |
Pro Tips
- A dry tool drags a line, so keep gel on it.
- Work from larger dots to smaller.
Common Mistakes and How to Fix Them
- Using a dry dotting tool. It drags lines instead of leaving clean dots. Reload the tool with gel.
- Not curing between layers. Cure each colour and each set of dots before adding the next.
- Skipping the second coat of yellow. One coat can look patchy. A second coat makes it opaque.
Who Is This Design For?
Dotting tool summer nails are for anyone wanting an easy, cheerful summer look. As an easy gel nail tutorial it suits beginners especially well, because the whole design is built from dots and simple curved shapes.
Ways to Make It Your Own
- Use any colour combination.
- Vary the dot sizes.
Aftercare
Use cuticle oil daily to keep the nails nourished.
Frequently Asked Questions
What do you need for dotting tool summer nails?
Gel polish and a dotting tool. Kirsty also uses a foil palette to hold the colour.
Why does my dotting tool drag lines?
It is too dry. Gel moves gel, so keep a little gel on the tool.
How long do you cure each layer?
One minute in the lamp.
How do you make gel polish dots different sizes?
Work from bigger dots to smaller, and use the smaller end of the dotting tool for the tiniest ones.
How do you get yellow gel polish opaque?
Cure the first coat, then add a second coat.
How do you finish a dotted gel polish design?
Apply two coats of top coat, curing each, wipe with Gel Residue Remover, then apply cuticle oil.
What colours did Kirsty use?
Urban Graffiti gel polish in Blue Moon, Mellow Yellow and Breezy Blue, with white for the highlight dots.
Give Dotting Tool Summer Nails a Try
Watch the video above and try your own dotted design. Keep gel on the tool, cure as you go, and your dotting tool summer nails will be done in minutes.


