



To make Banksy umbrella man nails, you stipple black round the edge of the nail with a piece of sponge and add a thin grey wash so it looks like a worn wall. The figure is mapped out and filled in as a black silhouette with white highlights, top coated, and finished with an umbrella sculpted in black acrylic and coloured rain.
Update: the video uses black, white and coloured acrylic paint, which we no longer stock. The products list uses Serious Black, Snow White, Azure and Fire Cracker gel polish with the Ultra Fine Detail Brush instead. Work in thin layers and cure each one, and use a little gel instead of water to thin the colour. The final glue seal is not needed with gel.
Kirsty Meakin from Naio Nails continues her series with the man dancing in the rain, a Banksy inspired nail art design. This distressed graffiti nail art tutorial uses a gel polish silhouette and a raised umbrella. Below you'll find the products, each step and the tips from the video.
At a Glance
- Design: a street art figure on a weathered wall, sheltering under a raised brolly with bright rain
- Artist: Kirsty Meakin
- Technique: sponge stippling, fine brush silhouette work and 3D acrylic sculpting
- Key products: Serious Black, Snow White, Azure and Fire Cracker Gel Polishes, Pure Black Acrylic Powder, Ultra Fine Detail Brush 0003, Top Coat
- Video length: about 9 minutes
Why You'll Love These Banksy Umbrella Man Nails
- A worn, weathered wall effect.
- A silhouette that still has highlights.
- A raised 3D umbrella with a seam.
- Random coloured rain for a pop of colour.
Products Used in This Video


How to Create Banksy Umbrella Man Nails
1. Distress the background
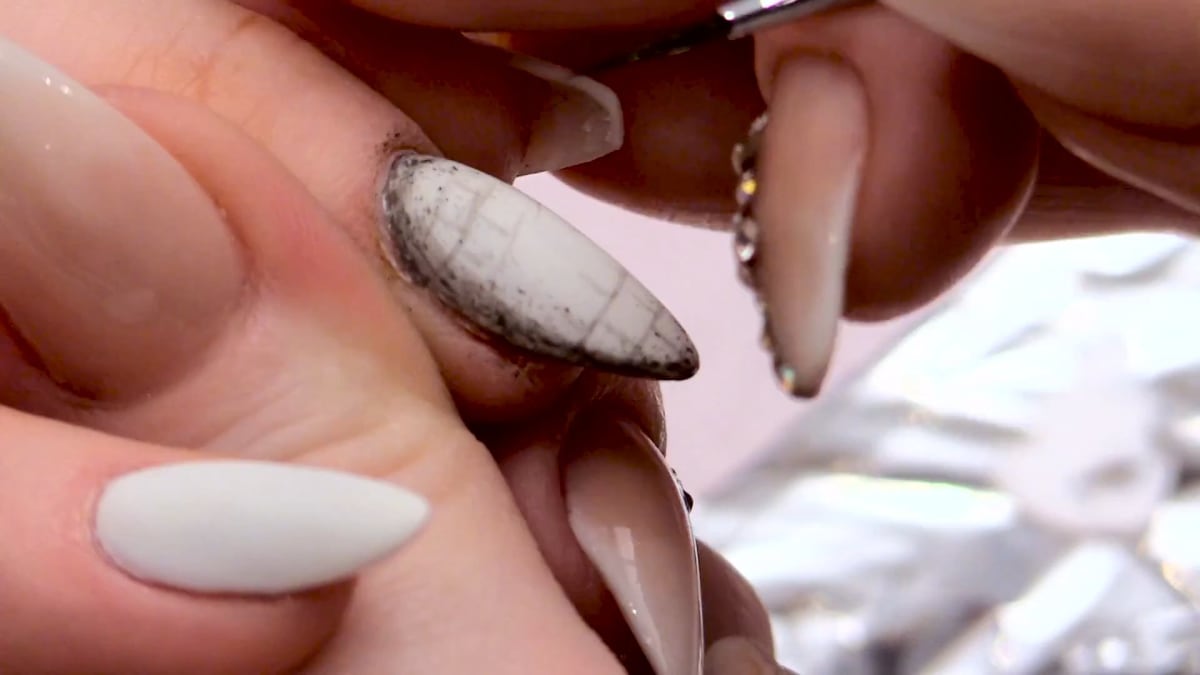
Cut a little piece of household sponge, dip it in a smidge of black gel and stipple around the outside of the nail, going through the centre very little. Cure.
2. Add a grey wash
Mix a little white and black gel into a soft grey and brush it thinly round the edge to frame the nail and make it look worn. Pull through some lines as bricks and cure.
3. Map out the figure
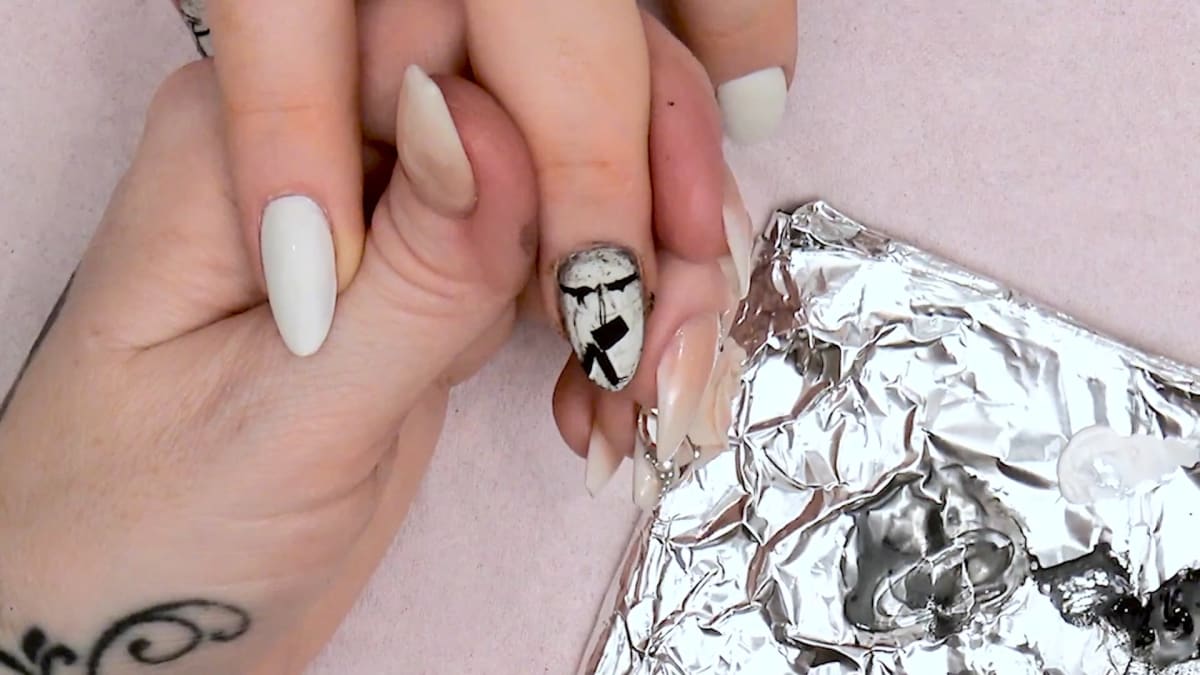
With black gel, map out the leg, chest and arm, the top of the head and hand, and the back of the umbrella above the head.
4. Build the silhouette
Blackout the briefcase, then do the legs and shoes. Tap the brush so the light catches one side. The other is completely black because it is a silhouette, but it still has some highlights. Add the jacket collar and the arm holding the briefcase.
5. Add face details
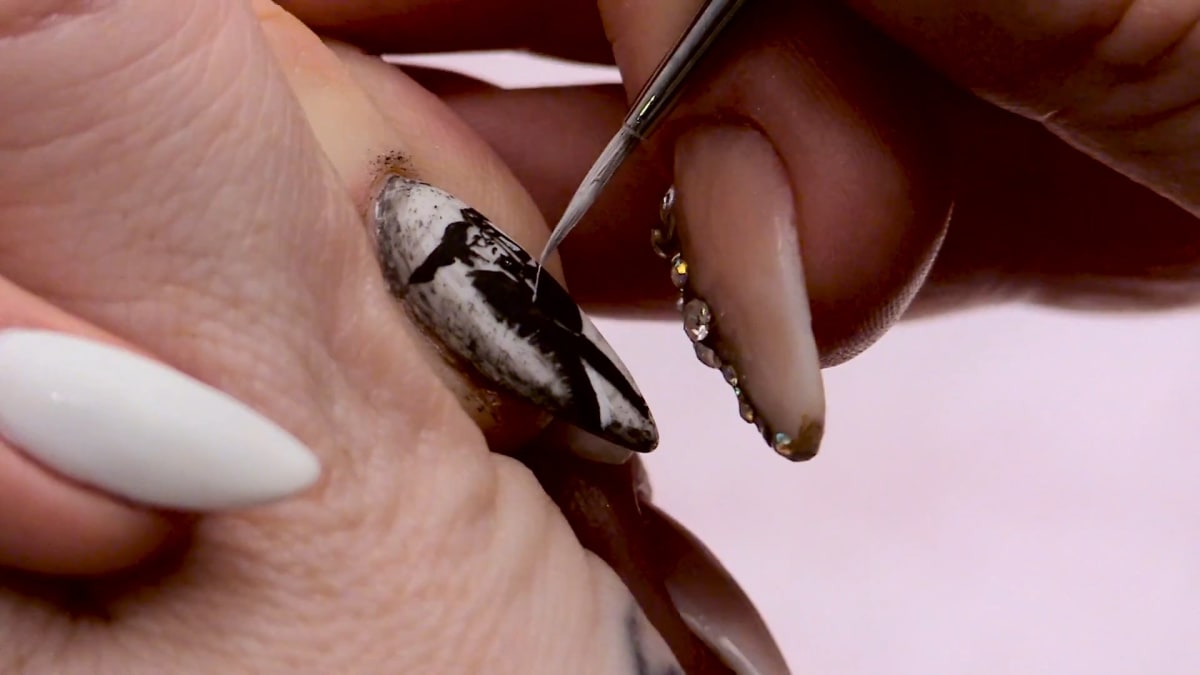
Use white to highlight and define. Add the eyebrows, glasses with a tiny brush, the mouth and a tiny dot for the nose, then the other arm holding the umbrella. Add a little edge of white to the briefcase, hand and face.
6. Add coloured raindrops
Add a little darkness for where the 3D will go, then colourful raindrops down the edges as if they come from the sides of the umbrella. Cure.
7. Top coat
Apply two coats of top coat, capping the edge, and cure for one minute in LED each time. Wipe off the sticky layer with gel residue remover.
8. Sculpt the 3D umbrella
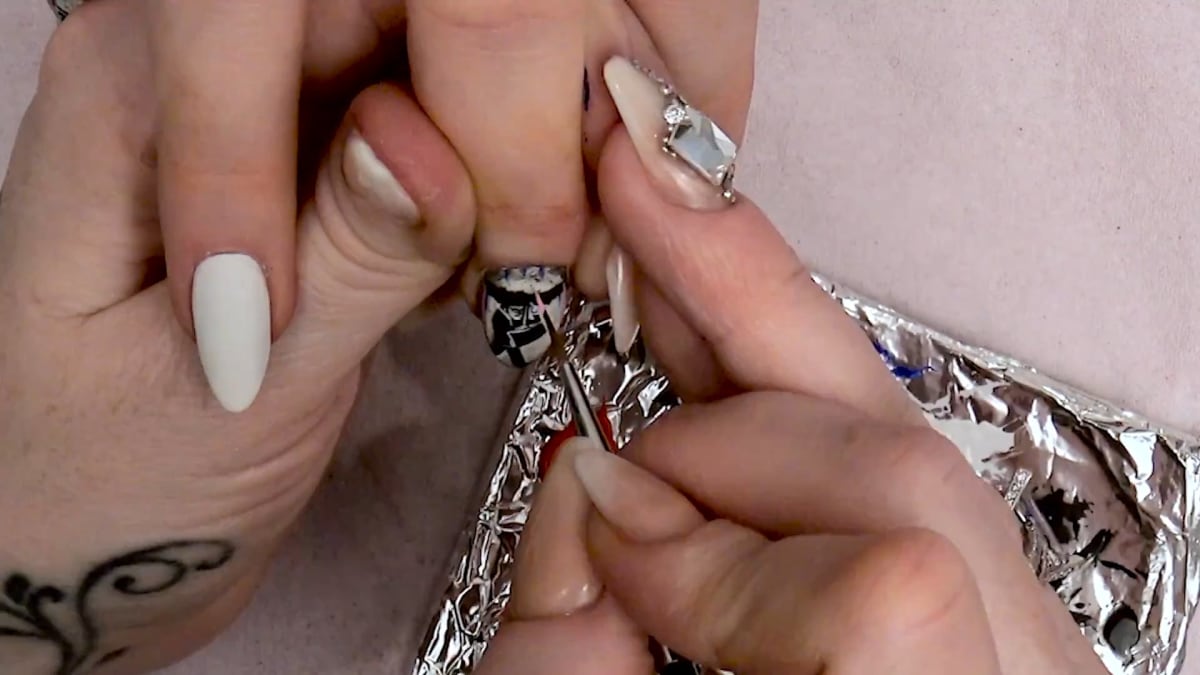
Use black acrylic to spread out the top of the umbrella and lift it so it becomes more 3D. Add a tiny bit of black for a raised seam, neaten the sides and draw up and down either side for a nice line. Make a tiny point at the top.
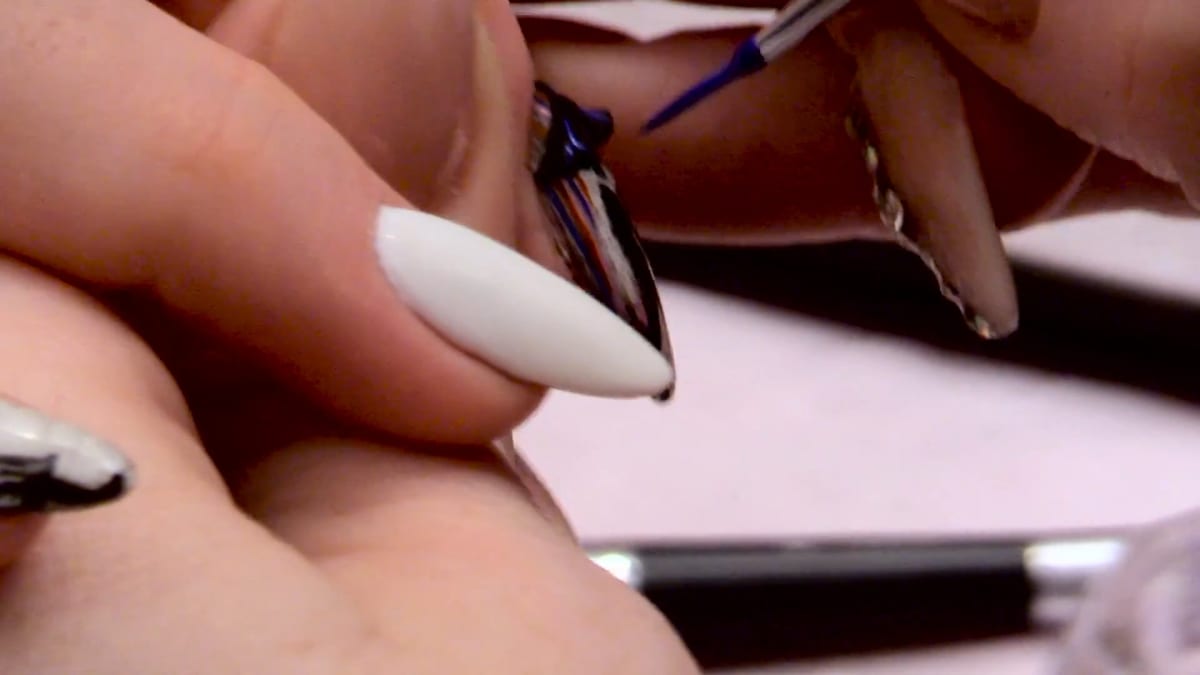
9. Add the rain
Brighten the blue, and do the rain falling down the umbrella in a random pattern. Add a slight black edge so it pops.
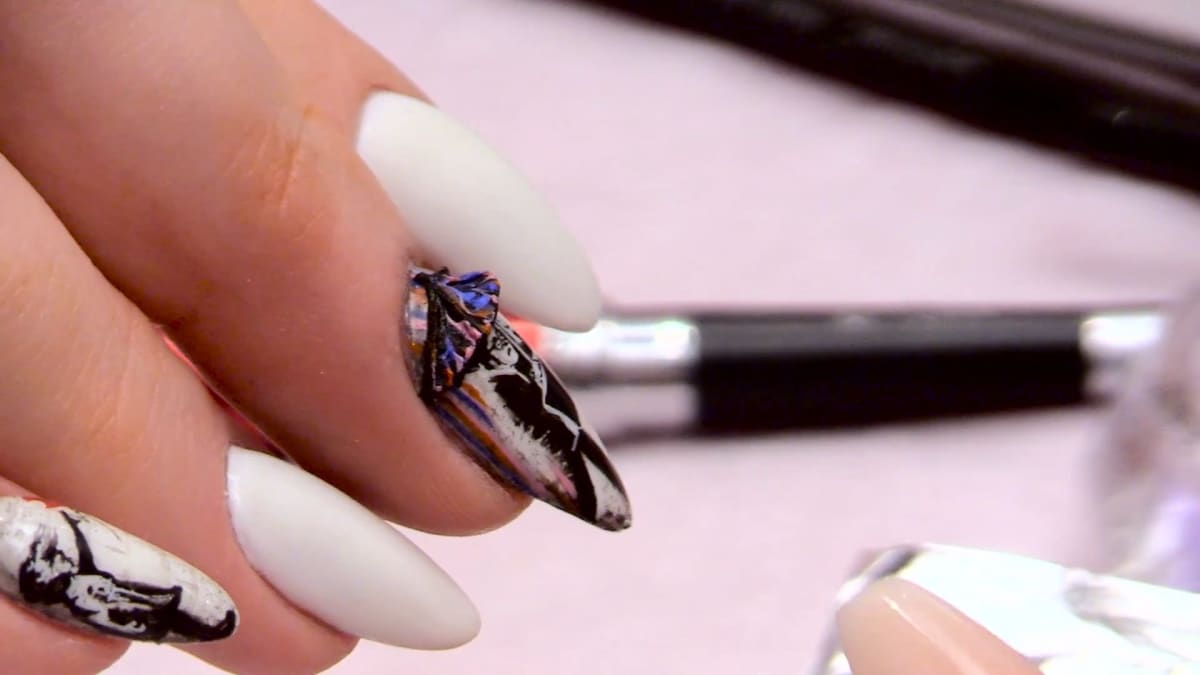
10. Seal
Cap the raindrops with a thin layer of top coat and cure. Finish with cuticle oil.
Pro Tips
- Cure thin layers between steps.
- Use a tiny brush for glasses.
- Keep the umbrella seam raised and neat.
Common Mistakes
- Top coating before every thin layer of colour underneath has been cured.
- Going too dark all over the figure, which loses the highlighted side of the silhouette.
Who Is This Design For?
Anyone who loves street art and wants a statement nail with a hand painted silhouette.
Ways to Make It Your Own
- Choose different rain colours.
- Paint a flat umbrella instead of 3D.
- Try the other Banksy designs in the series.
Aftercare
Finish with cuticle oil.
Frequently Asked Questions
How do you make Banksy umbrella man nails?
Stipple a distressed wall with a sponge, add a grey wash, paint the figure as a black silhouette with white highlights, top coat twice, then sculpt the umbrella in black acrylic and add coloured rain.
How do I make the wall look worn?
Stipple with a sponge and black gel, then add a thin grey wash round the edge.
How do I keep the details crisp?
Use thin layers and cure between them.
How do I keep the rain colours on?
Cap them with top coat.
How is the 3D umbrella made?
Black acrylic is spread out over the top of the painted umbrella and lifted, with a raised seam and a tiny point at the top.
How does the silhouette keep some highlights?
The brush is tapped so the light catches one side of the figure, and a little edge of white is added to the briefcase, hand and face.
Give Banksy Umbrella Man Nails a Try
Watch the video above and see the rest of the Banksy series.


